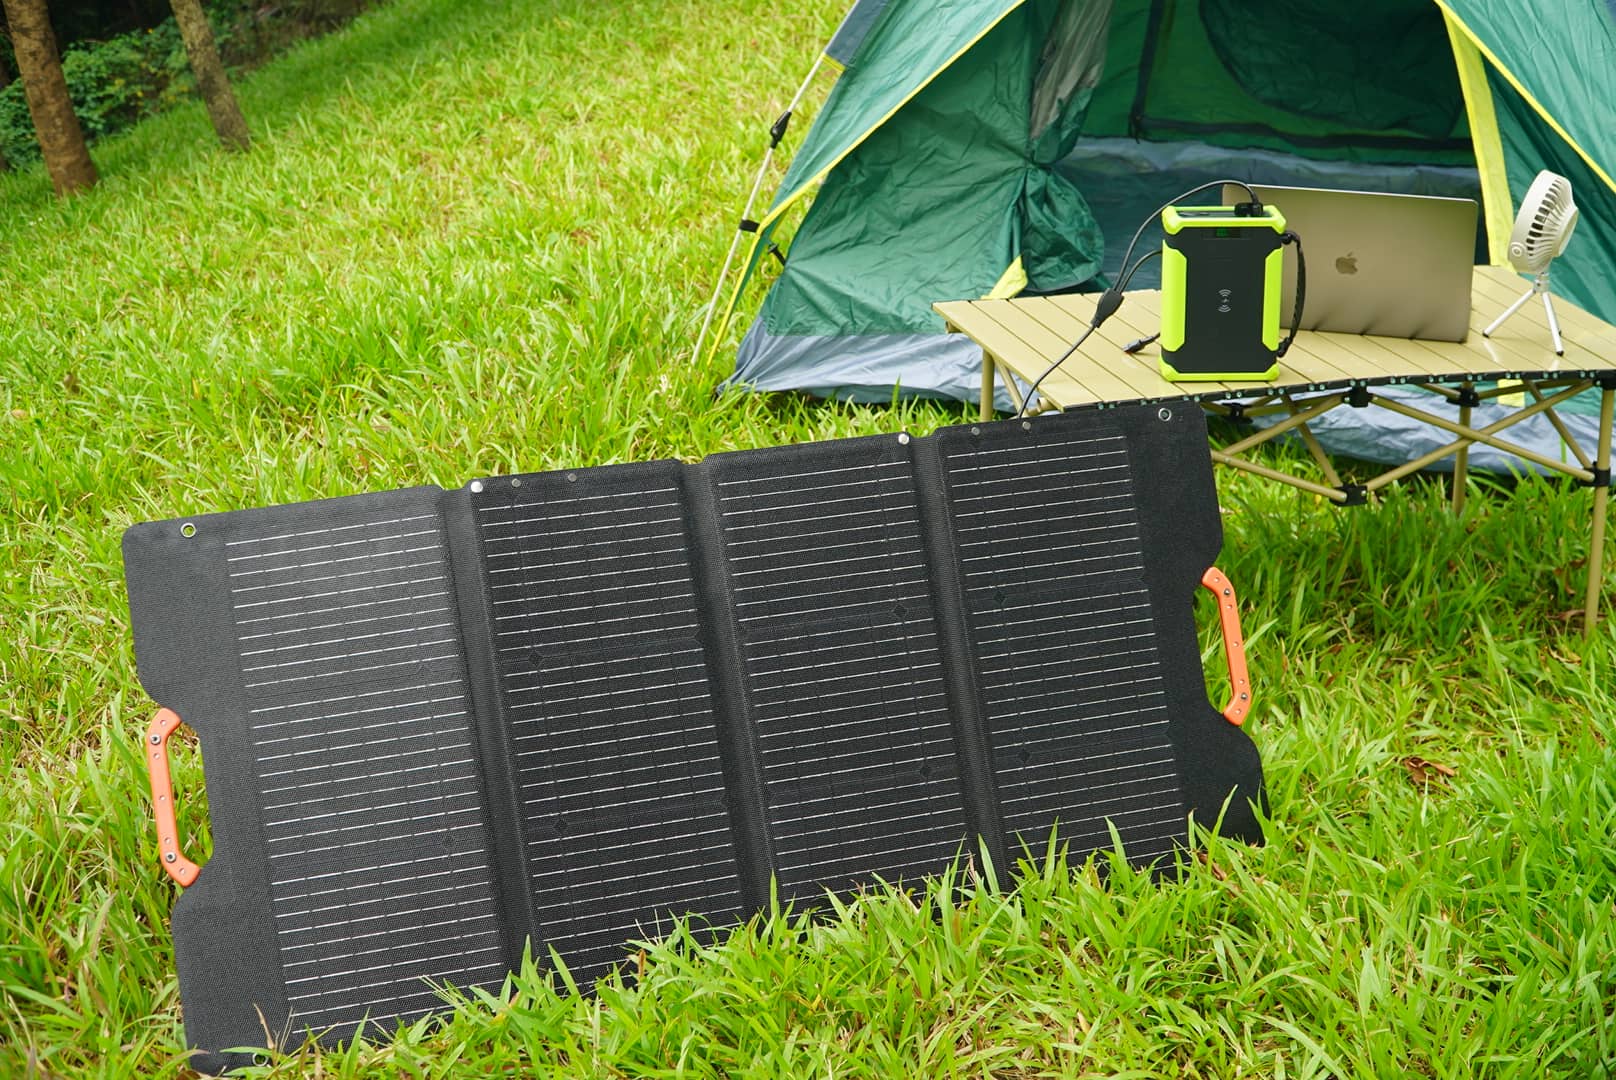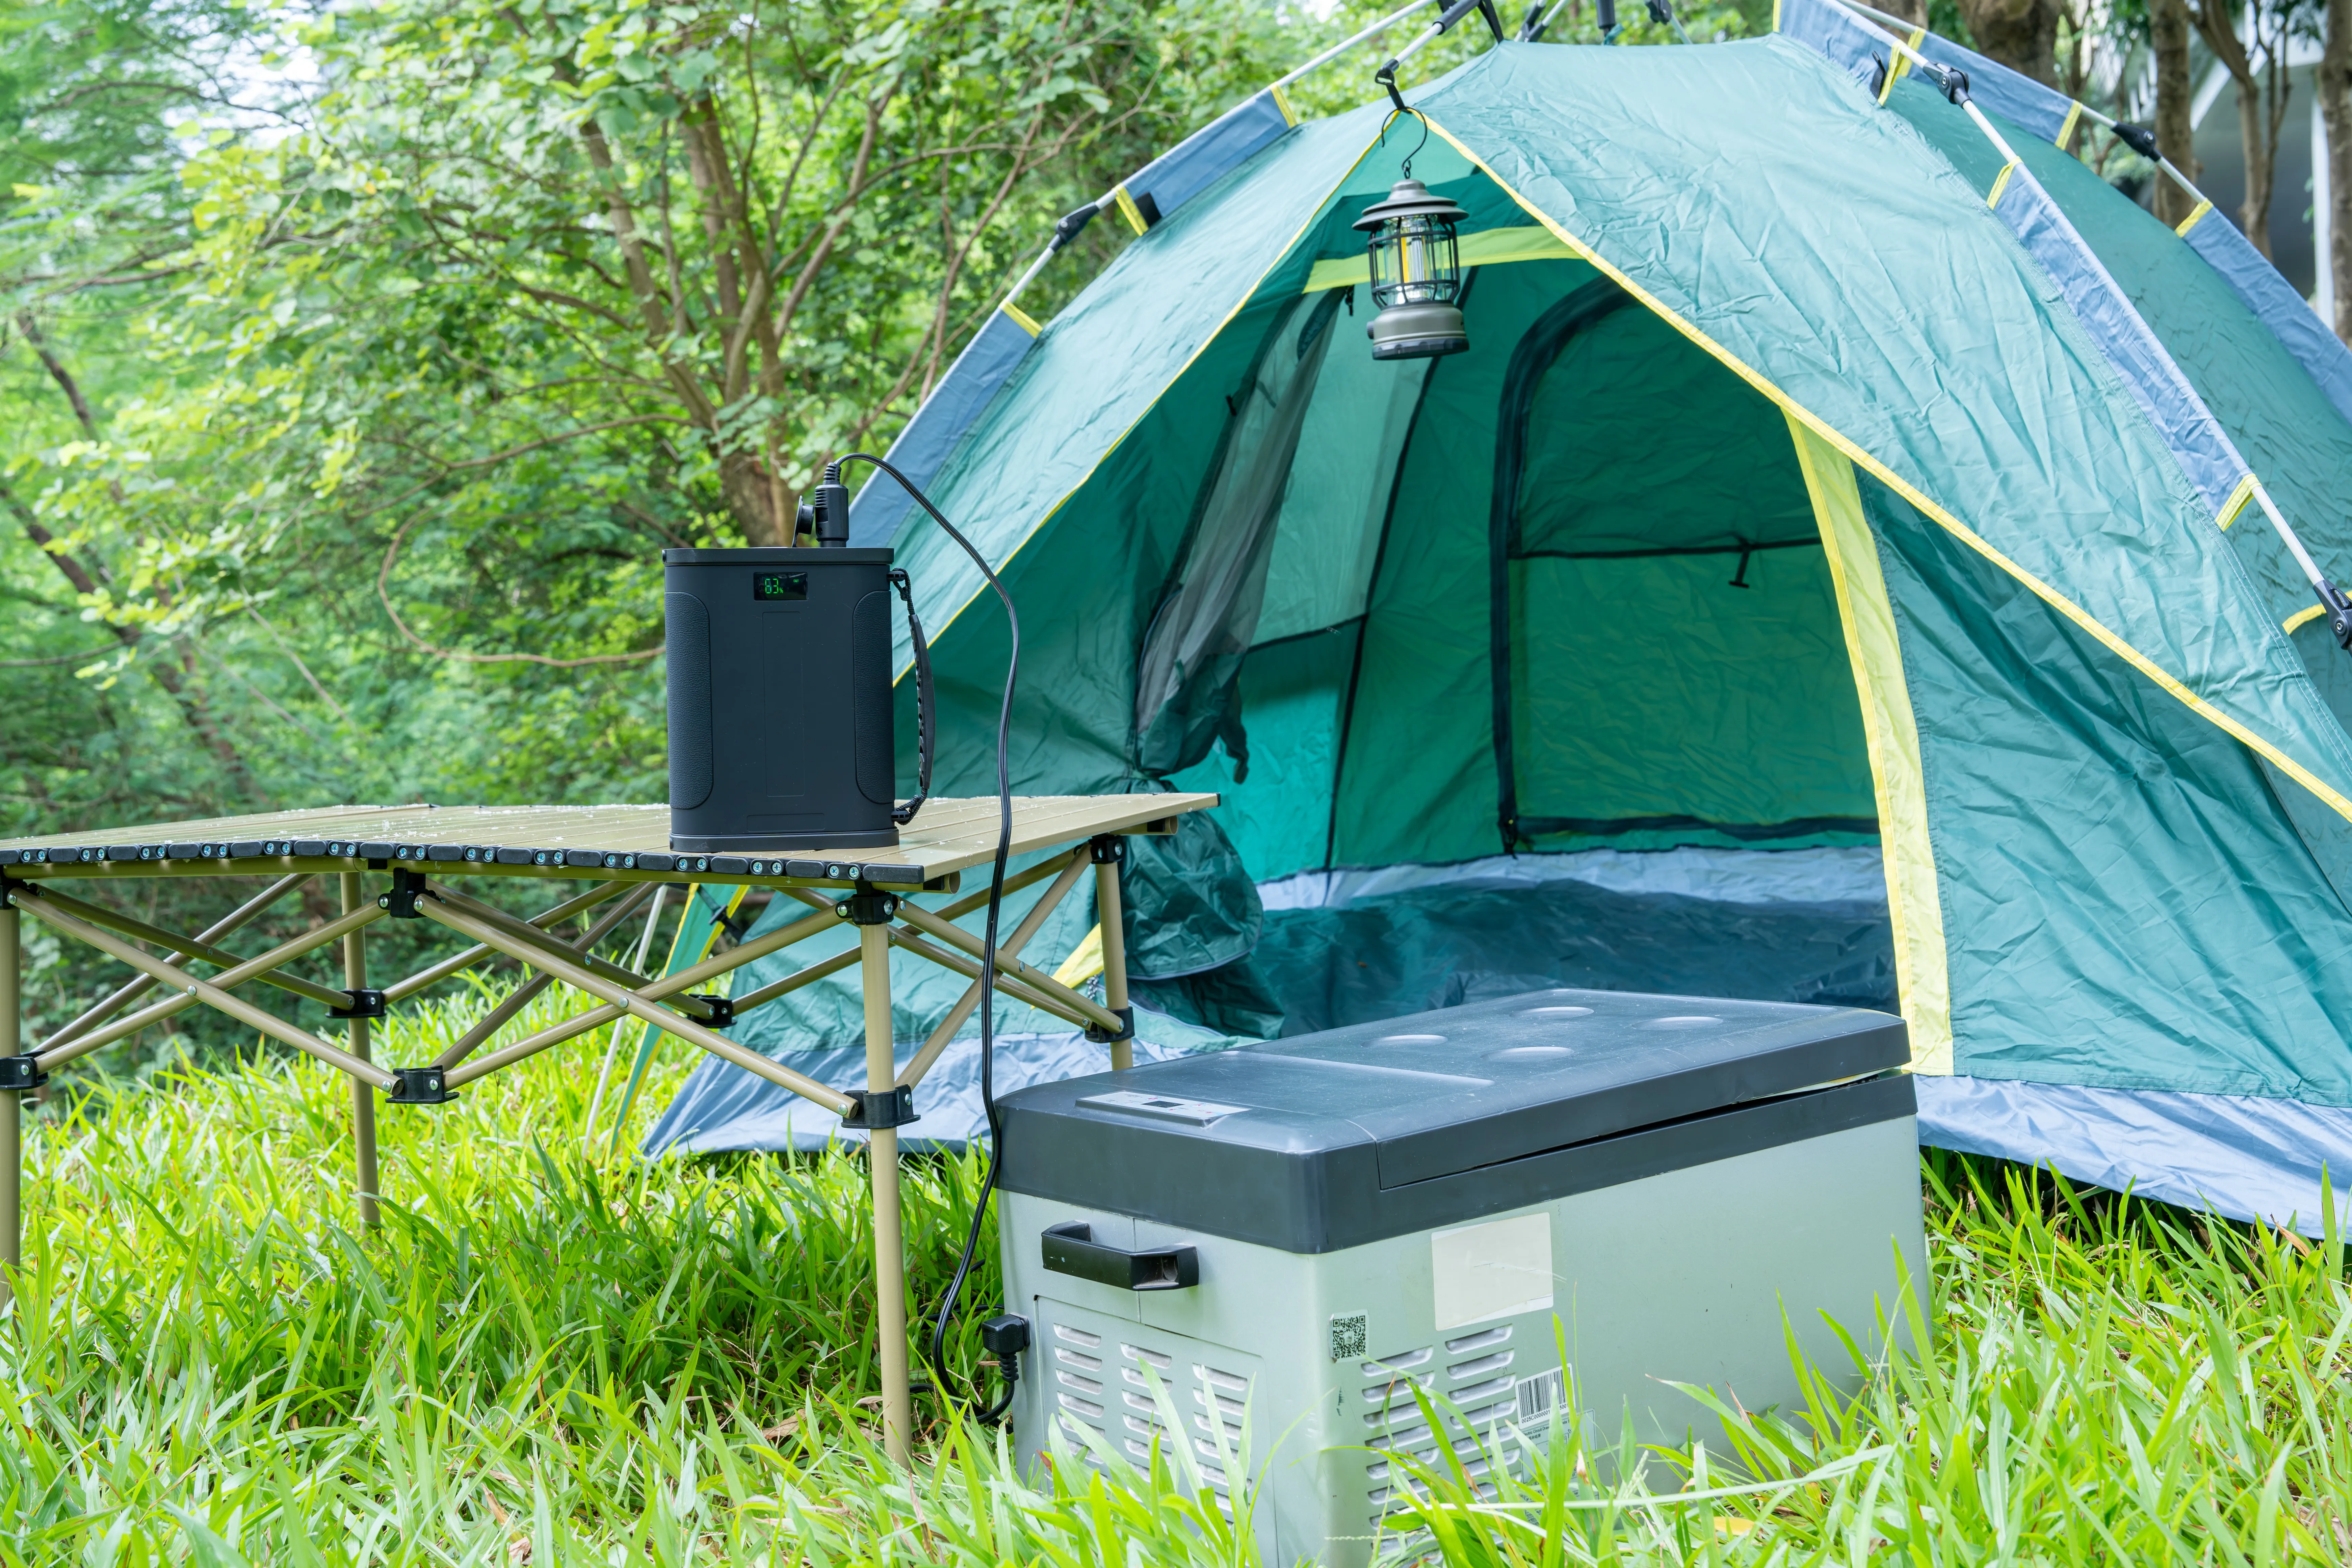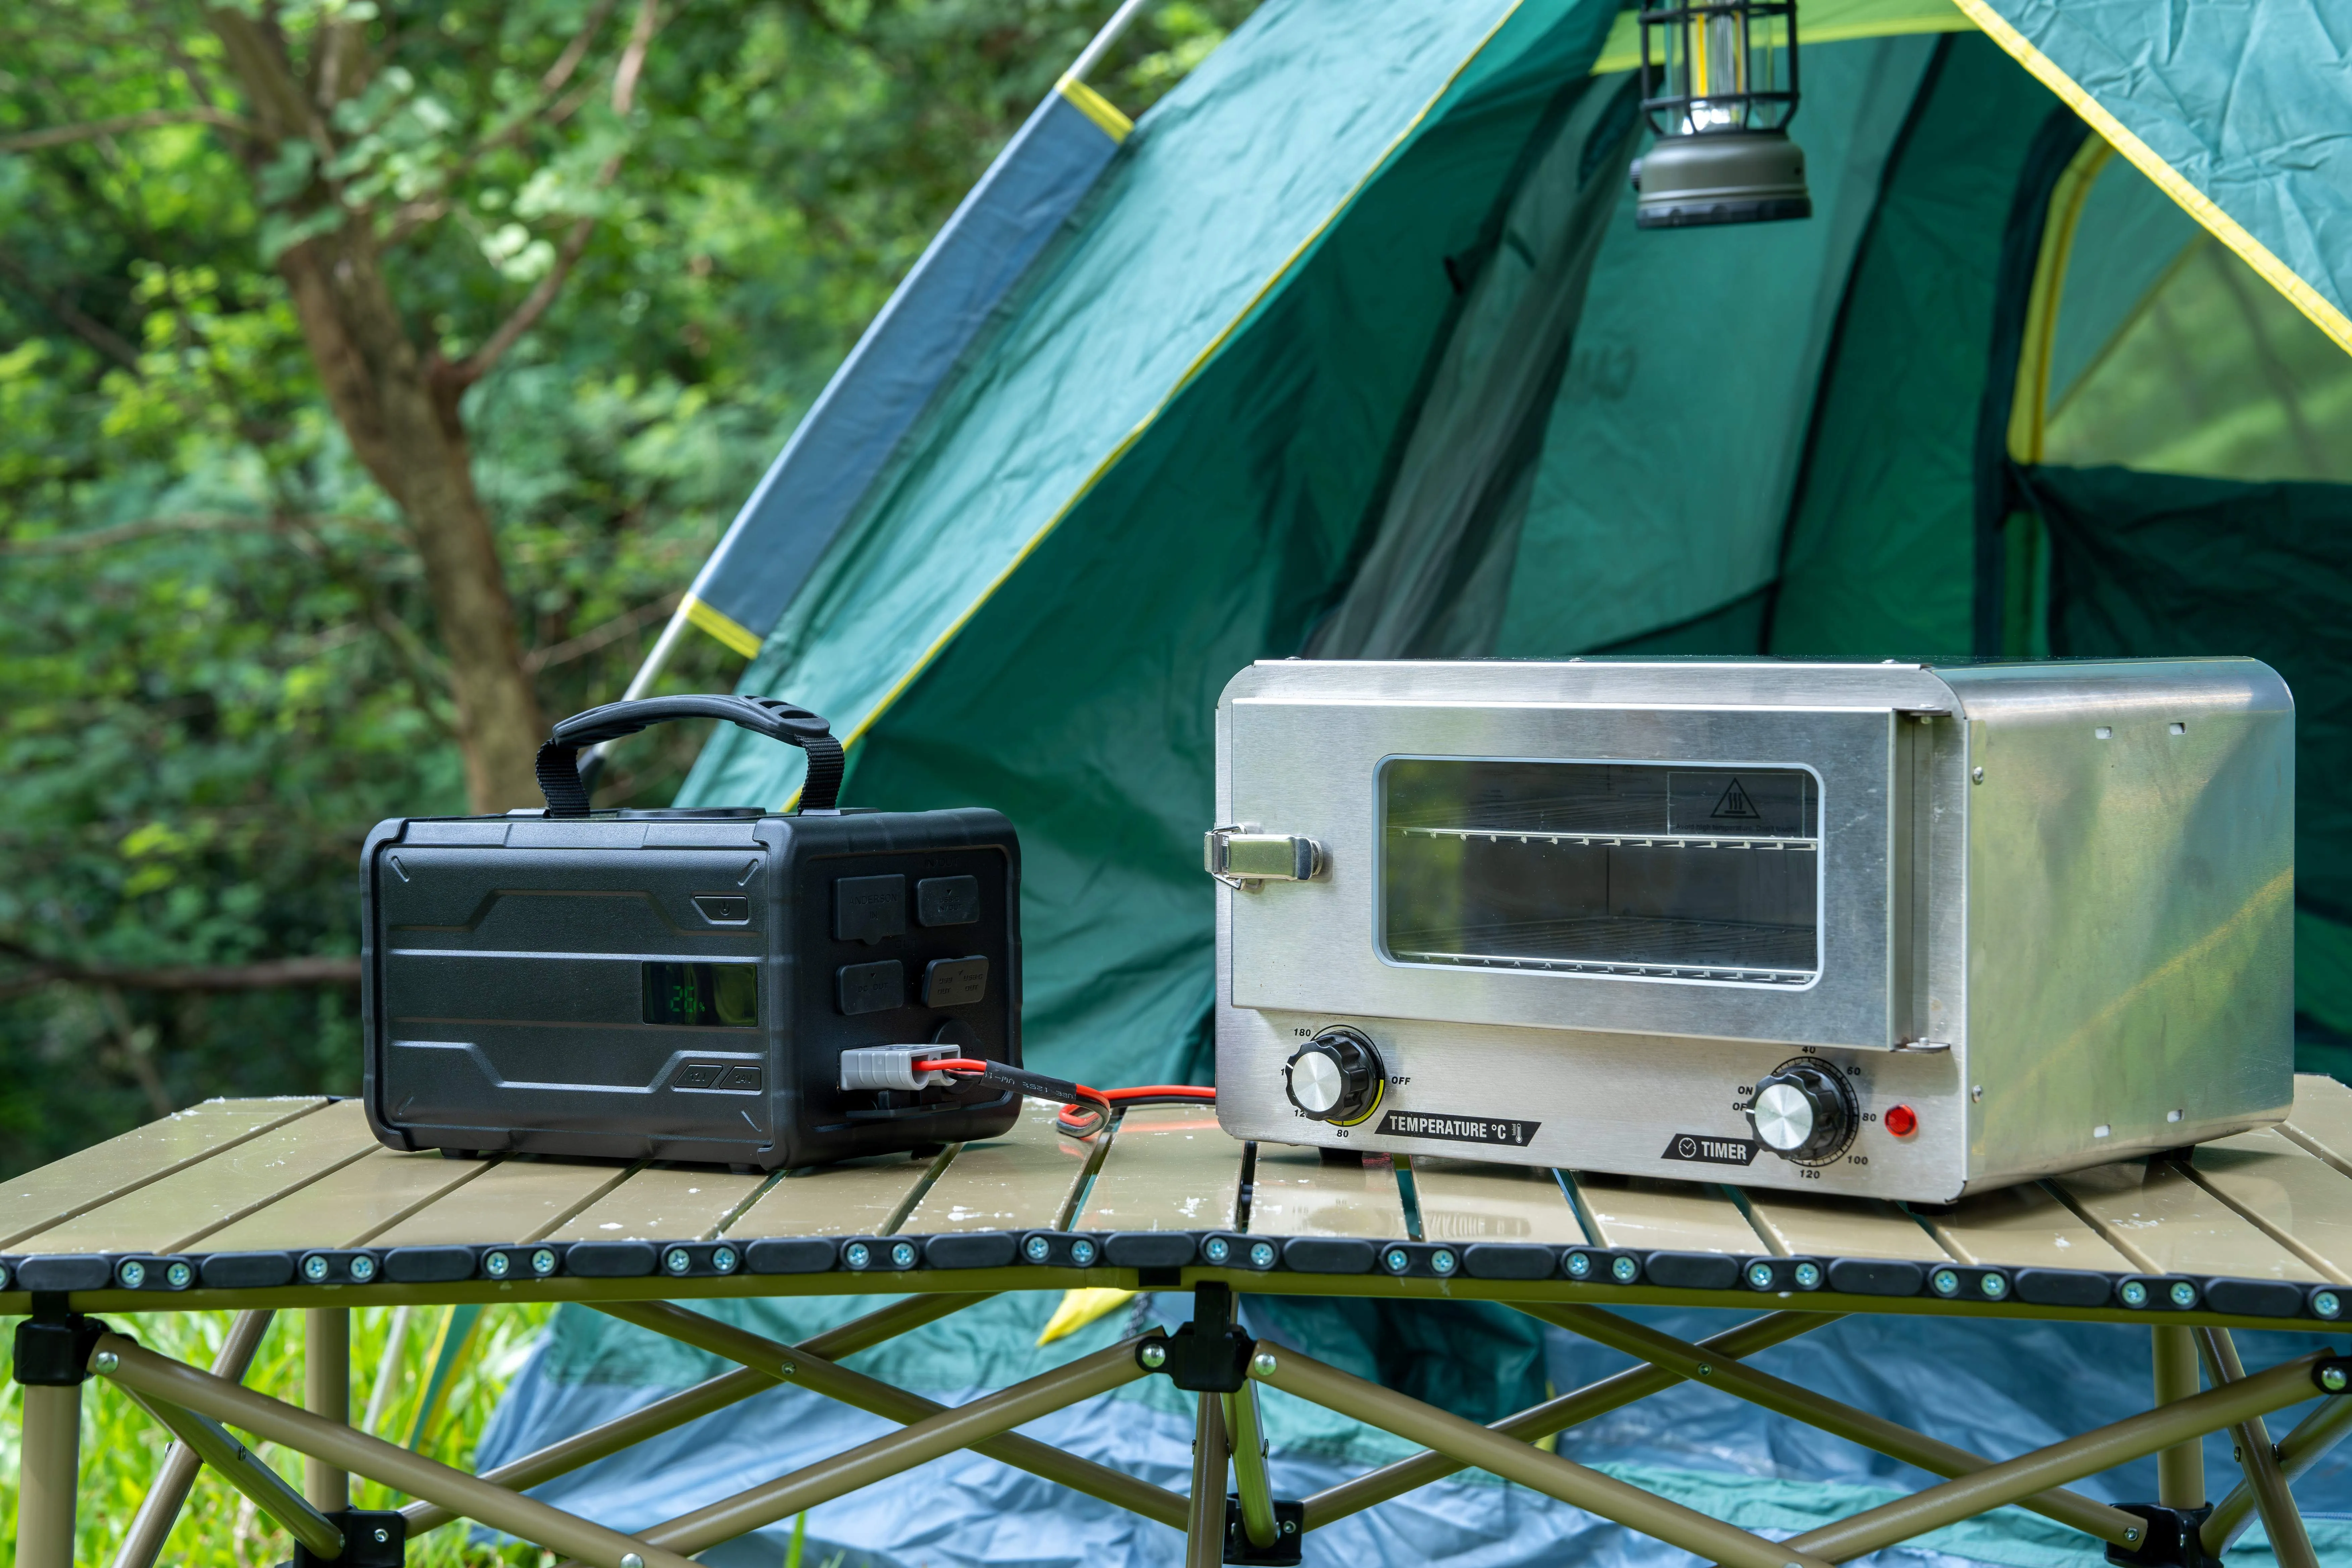

LiFePO4 battery packs are an excellent choice for energy storage due to their safety, durability, and versatility. Whether for solar power systems, portable energy stations, or electric vehicles, these batteries offer unmatched performance. This guide will walk you through the process of building your own LiFePO4 battery pack while emphasizing safety and efficiency.
LiFePO4, or Lithium Iron Phosphate, is a type of lithium-ion battery known for its stable chemistry. Unlike traditional lithium-ion batteries, LiFePO4 cells resist overheating, offer longer lifespans, and maintain consistent performance. These properties make them ideal for high-demand applications where reliability is crucial.
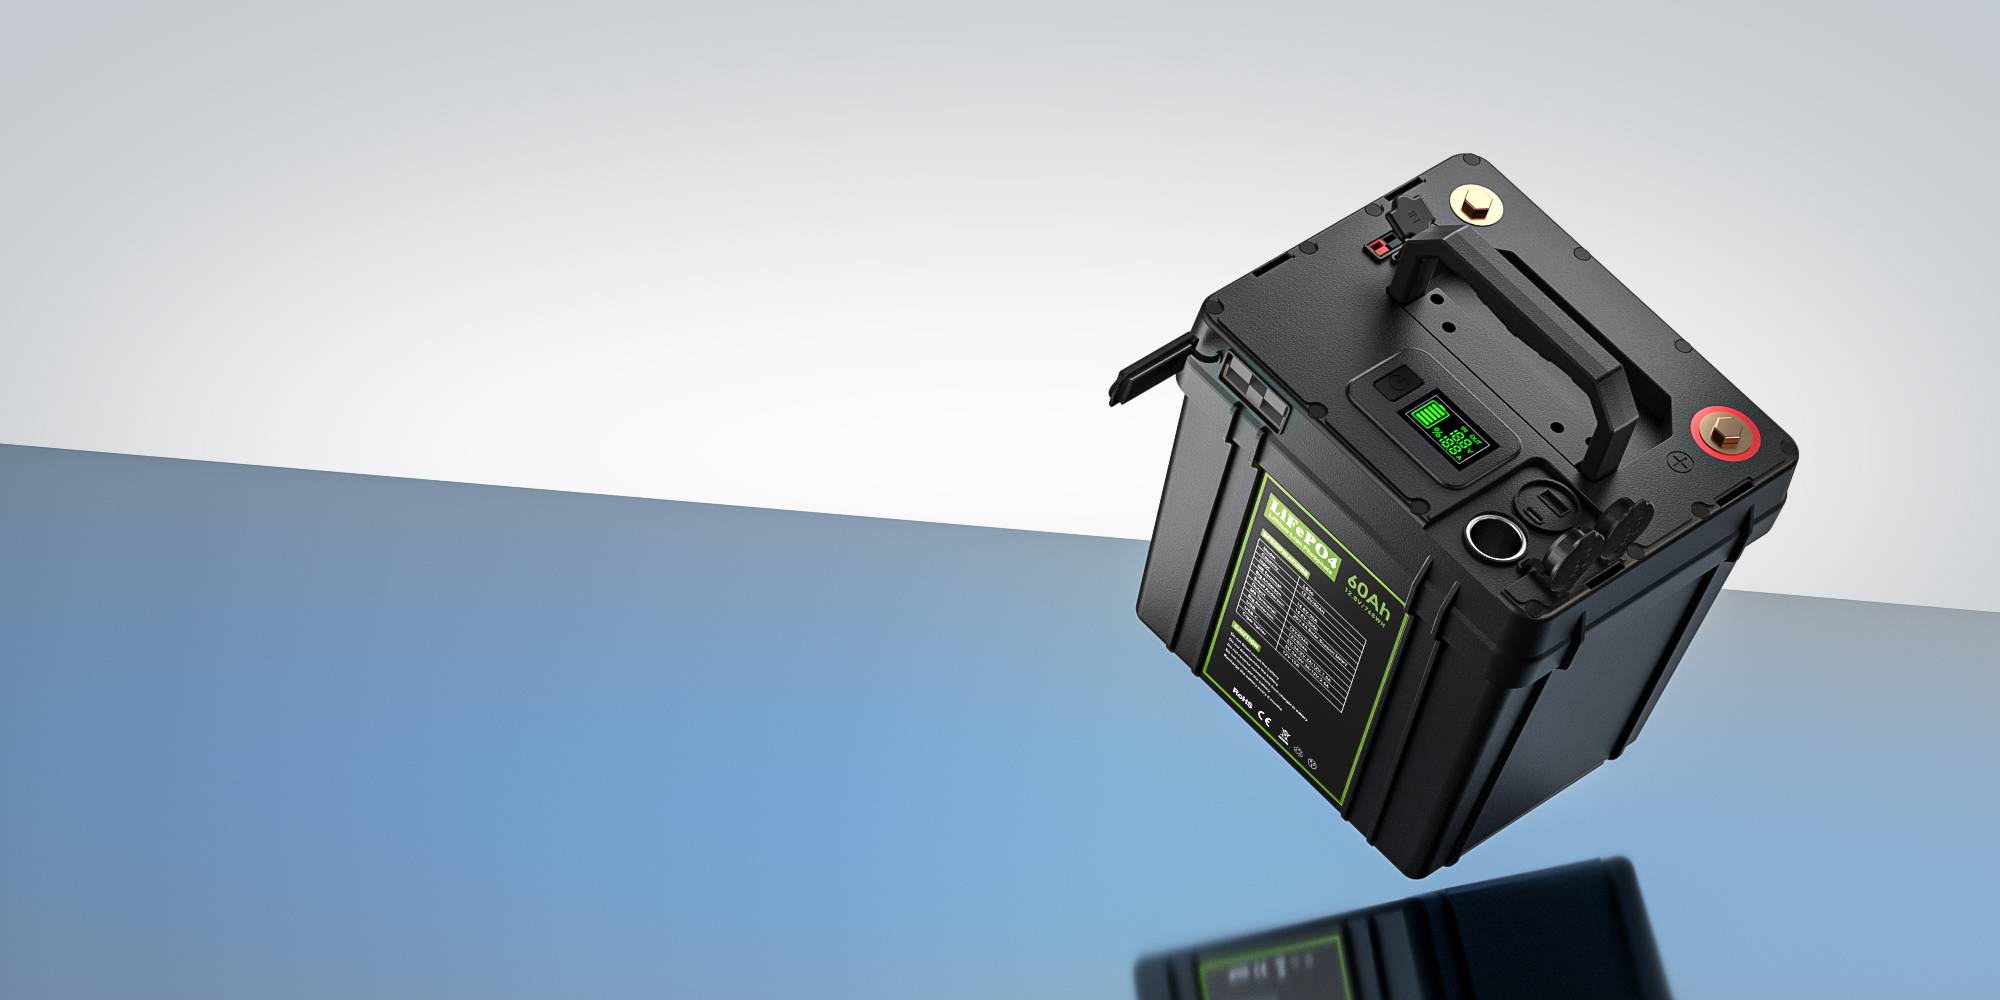
A LiFePO4 battery pack consists of multiple cells wired in a series or parallel configuration, a Battery Management System (BMS) to regulate performance, and protective casing for durability.
Before starting your build, prioritize safety. LiFePO4 batteries are safer than many alternatives but still require caution.
Key Precautions: Avoid short circuits, overcharging, and physical damage to the cells.
Essential Gear: Wear gloves, safety goggles, and work in a well-ventilated area. Use insulated tools to handle electrical components.
Environment: Ensure your workspace is dry, clean, and free of flammable materials.
LiFePO4 Cells: Choose cells with consistent capacity and voltage.
BMS (Battery Management System): Essential for monitoring and controlling charge cycles.
Nickel Strips: For connecting cells.
Wires and Connectors: For wiring the pack and connecting to devices.
Protective Casing: To secure and shield the pack.
Spot welder for cell connections.
Multimeter for testing voltage and current.
Soldering iron for secure connections.
Heat-shrink tubing and insulation tape for added safety.
LiFePO4 batteries operate at 3.2V per cell, with typical configurations like 4S (12.8V) for small systems or larger configurations for higher voltage. These batteries excel in energy density, cycle life (over 2000 cycles), and thermal stability, making them a superior choice for DIY energy storage projects.
Cell Testing: Check each cell for consistent voltage and capacity to avoid imbalances.
Configuration Planning: Decide on the pack’s voltage and capacity based on your needs.
Example: A 4S pack with 100Ah cells yields 12.8V and 100Ah capacity.
Workspace Setup: Arrange your materials and tools in an organized manner.
Arrange the Cells: Place them in a series or parallel configuration depending on your desired voltage and capacity.
Connect with Nickel Strips: Use a spot welder to securely join the cells.
Attach the BMS to regulate charging and discharging, protecting the battery from overvoltage, undervoltage, and overcurrent.
Connect the BMS wires to the respective positive and negative terminals of the cells.
Insulation: Cover exposed connections with heat-shrink tubing or insulation tape.
Casing: Place the pack in a robust housing to prevent physical damage.
Voltage Check: Use a multimeter to verify the overall voltage matches your configuration.
Load Test: Connect a device to test the pack’s output under load conditions.
BMS Functionality: Ensure the BMS prevents overcharging and balances the cells.
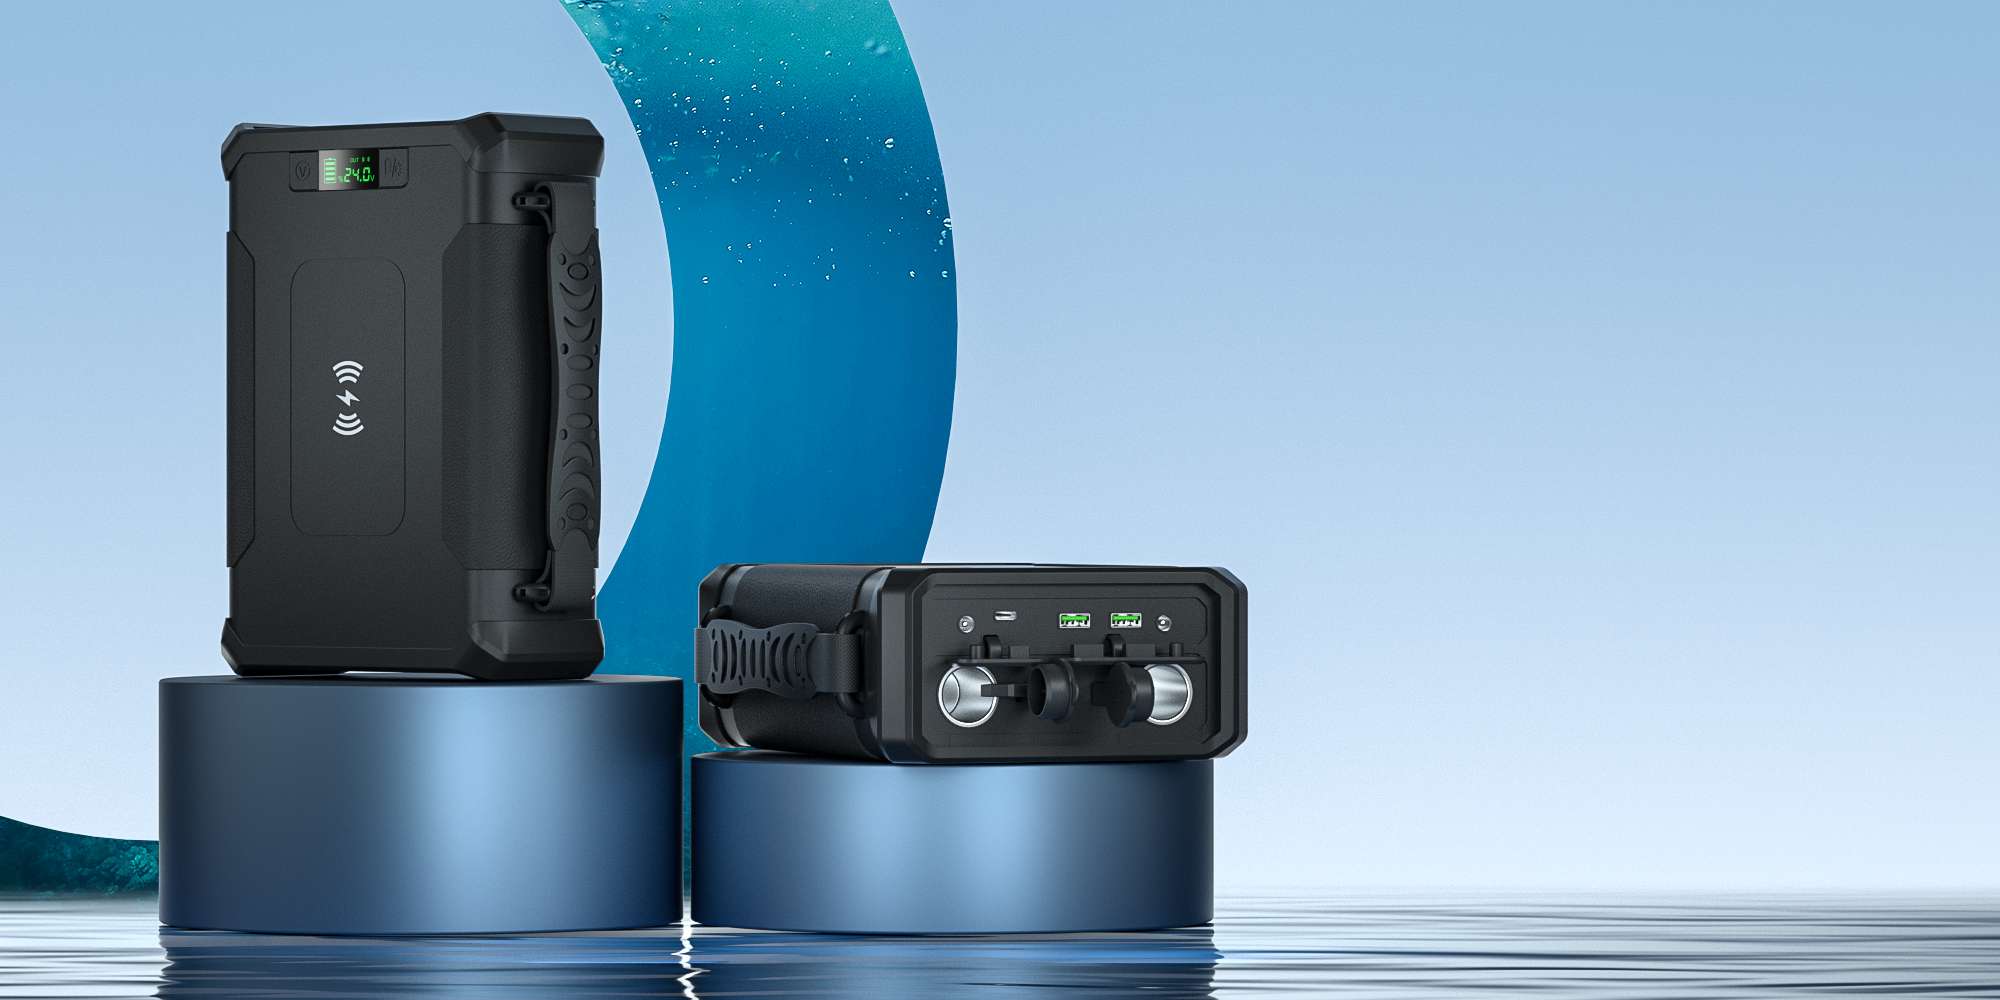
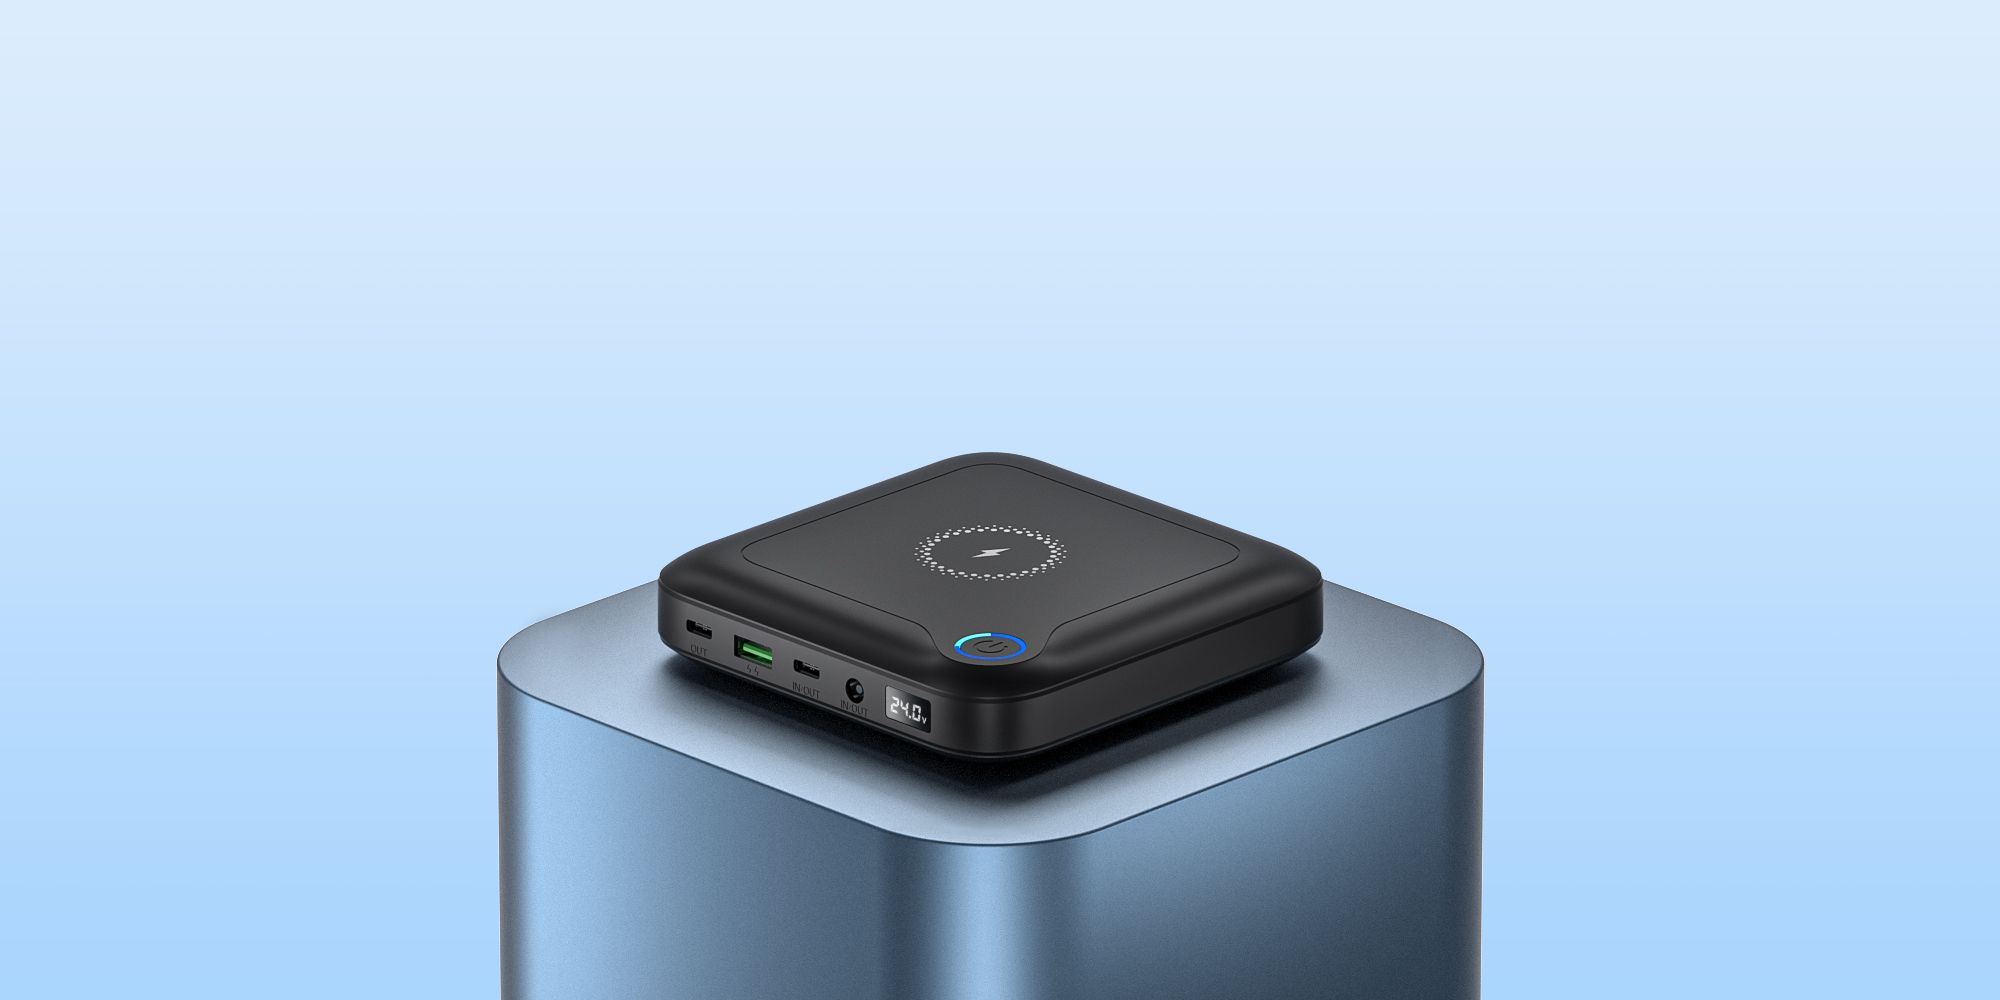
IncorporatingMerpowercomponents can significantly improve your DIY battery pack’s reliability. Their advanced battery monitoring and safety features ensure optimal performance and durability, especially for off-grid and portable applications.
Building a LiFePO4 battery pack is an empowering way to customize your energy storage solution. By following this guide, you can create a reliable, high-performing battery pack tailored to your needs. Remember, safety and preparation are key to success.
Take the leap into DIY energy solutions, and enjoy the benefits of a custom-built LiFePO4 battery pack for years to come.
Feel free to contact us for more information about Merpower components or other battery solutions.