





Table of Contents
Introduction
The tent is standing, but getting to the cooler means stepping over a guyline. The stove occupies most of the table, and the charging cable runs through the seating area.
These small inconveniences often begin with placing equipment before deciding how the campsite will work.
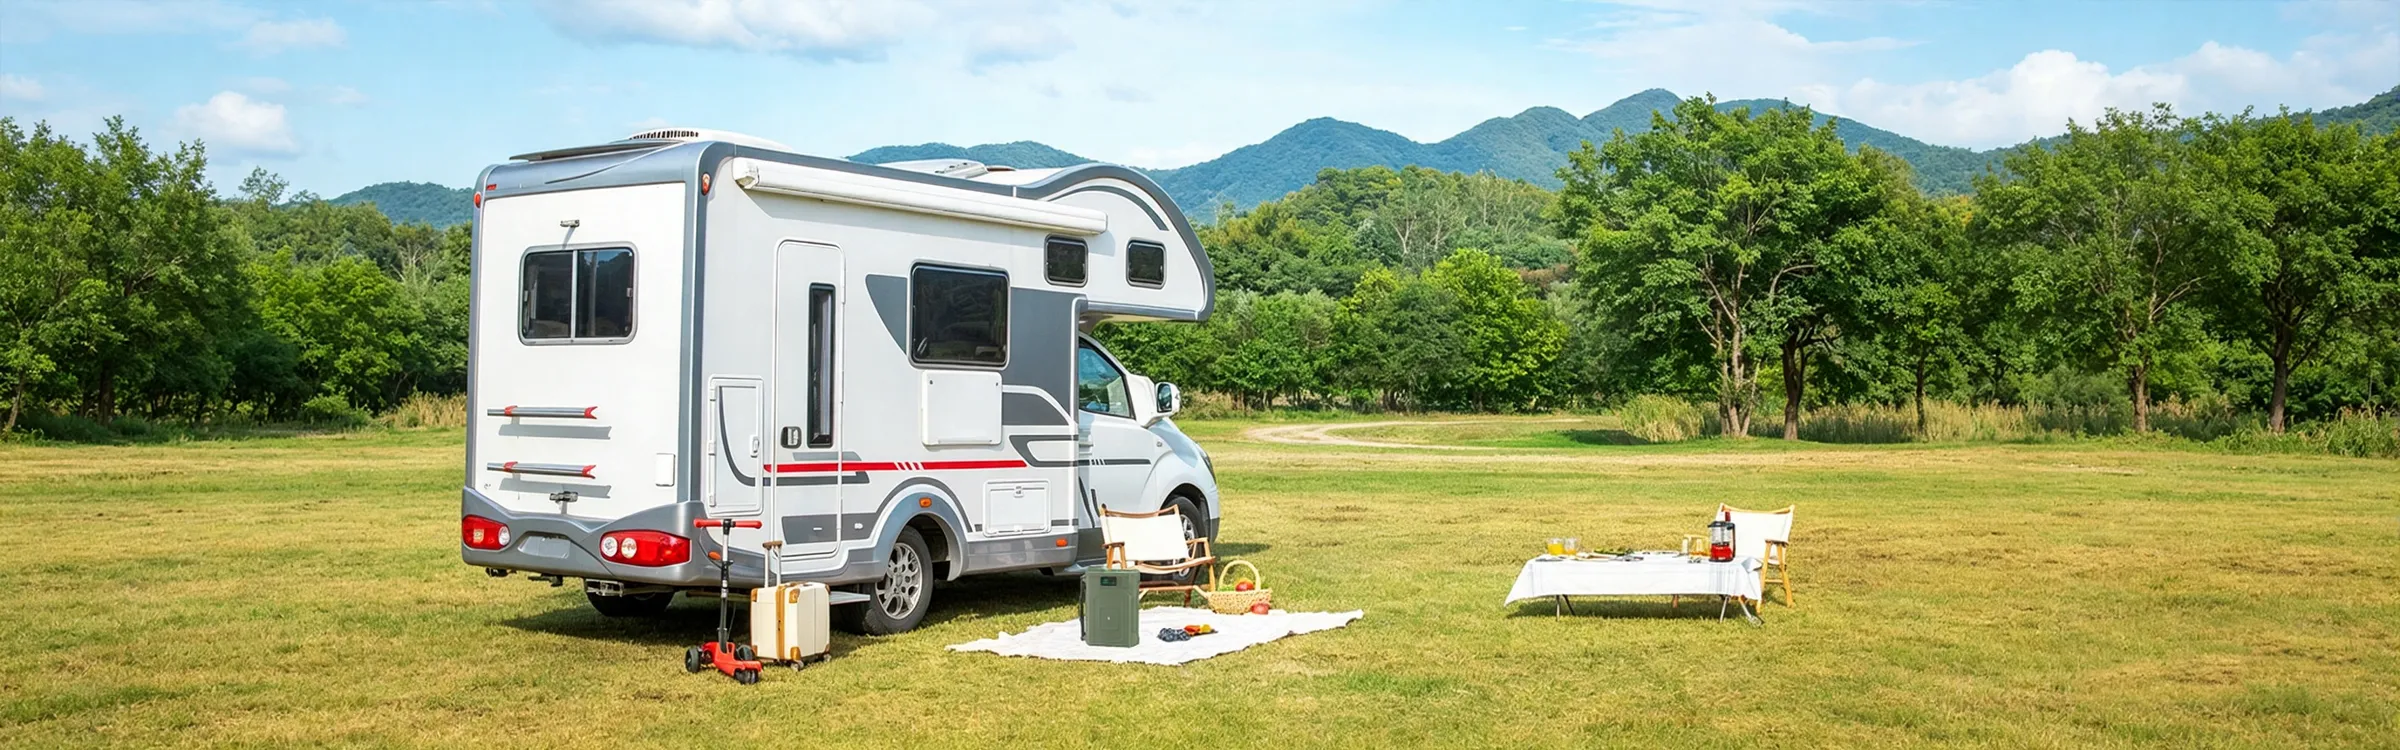
A practical layout gives sleeping, cooking, relaxing, and charging suitable places while keeping everyday routes clear. It also works around the campground’s boundaries, fixed facilities, and safety requirements.
Whether you arrive with a tent or an RV, start by walking the site. Then arrange your equipment around the activities you expect to do.
Walk the Site Before Unloading
Identify the Boundaries and Fixed Facilities
Find the assigned parking area, tent pad, picnic table, fire ring, utility connections, and any designated storage facilities.
Check which items may be moved and which must remain in place. Keep equipment within the permitted site rather than extending into neighboring pitches or shared paths.
Confirm the campground’s rules before deciding where everything belongs. Existing facilities and local requirements provide the starting framework for your layout.
Read the Ground, Overhead Space, and Drainage
Look at the ground and above it.
Choose an approved tent location with suitable ground conditions. Avoid low spots where water may collect, and check for dangerous branches or other overhead hazards.
Consider where water could flow during rain. A flat-looking depression can become inconvenient quickly when the weather changes.
Inspect the site before spreading out your gear, while the ground and possible obstacles are still easy to see.
Check Access, Sun, Wind, and Available Space
Think about how people will enter, unload, and move around.
Leave space to open vehicle doors and retrieve equipment. For an RV, account for steps, slide-outs, awnings, service access, and manufacturer-required clearances.
Consider how sun and shade change through the day. A shaded seat at arrival may be exposed later.
Use the forecast and campground guidance when assessing wind and weather. A convenient layout must remain appropriate for the conditions.
Give Each Main Activity a Suitable Place
Sleeping Area: Keep the Entrance Clear
Place the tent on the designated pad where required and pitch it according to its instructions.
Keep the entrance accessible, with space to put on shoes and move belongings. Arrange guylines so people can recognize and avoid them.
Plan the relationship between sleeping and food areas according to local rules. Wildlife requirements can substantially affect the layout, so do not assume one standard arrangement suits every campground.
Kitchen Area: Leave Room to Prepare and Clean Up
Give the kitchen enough working space for the stove, preparation, serving, and cleaning.
Use fuel-burning camping stoves only in appropriate outdoor locations and follow their clearance requirements. Keep heat away from tents, awnings, batteries, and combustible belongings.
Place frequently used utensils where they can be reached without leaning across a burner.
Also consider where clean water and used cookware will go. A kitchen that works during cooking should remain manageable afterward.
Living Area: Arrange Seating Around How People Move
Position chairs and tables around the number of people using them.
Leave a clear route between seating, sleeping, parking, and cooking areas. Check that someone can stand up or carry a bag without stepping over equipment.
Try the arrangement before unpacking every item. Moving two empty chairs is easier than reorganizing a table covered with food, lights, and electronics.
Storage Area: Keep Frequently Used Items Accessible
Group equipment by purpose. Keep tent tools, clothing, kitchen supplies, and charging accessories in identifiable places.
Store food, rubbish, toiletries, and other scented items according to the campground’s wildlife instructions. An ordinary storage box is not automatically an approved wildlife-resistant container.
Pack away items you are not using. This preserves working space and makes the campsite easier to check before dark.
Adapt the Layout to a Tent or an RV
A Practical Layout for a Car-and-Tent Campsite
Build the arrangement around the approved parking space and tent location.
Keep unloading access available, then choose suitable living, cooking, and charging positions. Avoid placing equipment where it must be repeatedly moved to reach something else.
A simple planning sketch can help:
Parking and unloading
        |
Clear access route ─── Tent entrance
        |
Living and seating area
        └── Separate, dry charging position

Cooking and food storage:
Place according to campground and wildlife rules
This shows functional relationships, not required distances or a scale plan. Local restrictions may require a different arrangement.
A Practical Layout Beside an RV
Complete the vehicle’s parking and setup procedure before arranging outdoor furniture.
Follow the vehicle instructions for positioning, leveling, stabilization, and other applicable steps. Keep required ventilation and access areas open.
Then organize the outdoor living area around the door and established paths:
RV in its approved parking position
        |
Door and steps → Clear path → Seating and table
                                  |
                           GP72 charging area

Keep service access and ventilation clear.
Locate cooking and food storage as required.
A table or battery should not occupy the space needed for a door, slide-out, emergency exit, or service operation.
Adjust the Plan to the Campground’s Rules
A compact developed campground and a remote campsite may require very different arrangements.
Use designated cooking, fire, tent, and storage locations where provided. Ask the host or land manager when requirements are unclear.
These sketches are organizational tools. They do not replace site instructions or equipment clearances.
Place Lighting Where It Helps People See
Use Separate Light for Tasks and Relaxing
The cooking area needs useful task light. The seating area benefits from comfortable illumination, while the tent needs a light suitable for its interior.
Check the direction as well as the brightness. A lamp behind the cook may cast shadows across the work surface.
Aim lights toward the activity and away from neighboring sites. Dimming can make shared areas more comfortable while reducing unnecessary energy use.
Keep Personal Lighting Available
A central lantern cannot cover every journey away from camp.
Keep a headlamp or flashlight accessible for bathroom visits, finding equipment, and moving beyond the seating area.
Make sure each person knows where their light is stored. Personal lighting should remain available even when other rechargeable equipment is being replenished.
Review the Layout After Dark
Walk the main routes again once lighting is in place.
Check steps, tent entrances, guylines, and changes in ground level. Adjust lamps that create glare or leave important obstacles difficult to see.
Do not rely on decorative string lights alone for movement around the site.
Switch off lighting that is no longer needed and follow campground quiet-hour requirements.
Make the GP72 Part of an Organized Power Area
Choose a Stable, Dry, Accessible Position
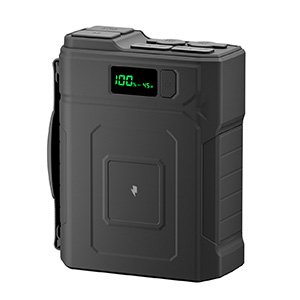
The Merpower GP72 has a 921.6Wh LiFePO4 battery pack, specified at 3.2V/288Ah. It measures 265 × 240 × 166mm and weighs approximately 9.75kg.
Account for that weight when choosing a support. Use a stable position with adequate load capacity, away from edges and places where someone could knock it over.
Choose a dry location, keep required ventilation clear, and leave the ports accessible. Avoid wet grass, pooled water, cooking splashes, and nearby heat sources.
Any weather shelter must still allow operation within the product’s instructions. Do not assume an awning makes every location suitable, or cover the working unit with clothing.
Group Compatible Devices Around Their Use
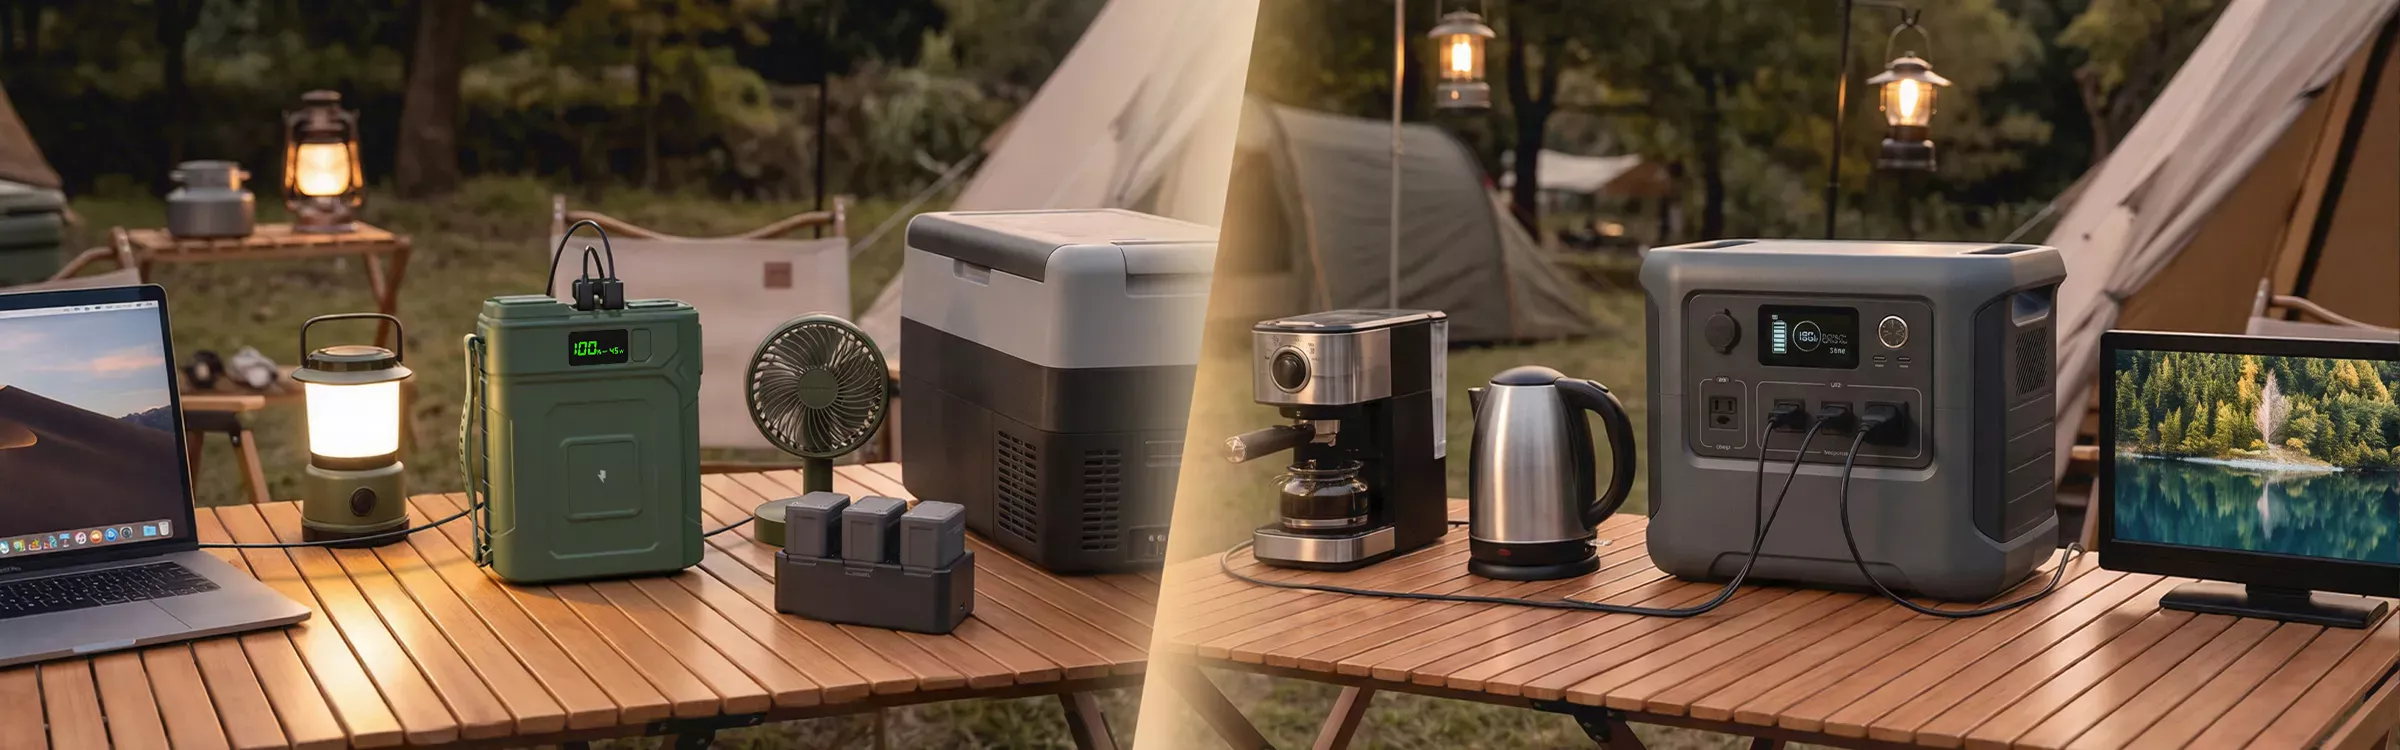
The GP72 provides USB-C, USB-A, and DC outputs for compatible equipment.
Its USB-C1 and USB-C2 outputs each support up to 100W, subject to the device, charging protocol, cable, and permitted operating configuration. These individual ratings should not be added together to assume simultaneous total output.
Use the charging area for equipment that belongs nearby, such as compatible phones, tablets, and rechargeable lights.
For a car refrigerator, check its accepted voltage range, running and startup requirements, and cable against the selected output. The GP72’s vehicle-style socket specification is 10–14V/10A, with a 120W maximum.
Keep the refrigerator accessible without making its cable a barrier across the campsite.
Route Cables Without Blocking Camp Movement
Place the power source near the equipment it needs to serve while maintaining suitable separation from heat, water, and busy working areas.
Route cables away from vehicle doors, chair legs, tent entrances, and walking paths. Avoid pinch points and keep connections accessible.
If a cable must cross a main route, first consider moving the device or charging position. An extension does not resolve every layout problem and must itself be suitable for the connection.
The GP72 should not be assumed compatible with direct connection to an RV’s distribution system or a campground hookup. Any integration requires an appropriate, manufacturer-approved arrangement.
Plan Energy Use Around the Whole Stay
Separate ongoing loads from occasional charging.
A refrigerator may operate throughout the visit, while a phone needs only a top-up. Lighting demand changes with brightness and evening routines.
Use actual equipment consumption where available, allow for losses, and preserve a practical reserve. The GP72’s nominal 921.6Wh rating does not guarantee a fixed number of days for every campsite.
Its specified solar charging capability includes MPPT input up to 200W. Use a compatible panel and connection, checking voltage, current, and input requirements. Do not add input ratings together to assume a higher combined charging capability.
Solar collection also depends on weather and placement. The panel’s preferred sunny location does not mean the battery should be placed beside it in direct sun.
Check the Campsite Before Settling In
A short review can catch problems before dinner or darkness makes rearranging equipment harder.
| Area | What to check |
|---|---|
| Site | Equipment stays within permitted boundaries; environmental hazards have been considered |
| Tent | Correctly pitched and secured, with a clear entrance |
| RV | Doors, steps, ventilation, service access, and required spaces remain open |
| Kitchen | Stable cooking setup, suitable clearances, and usable preparation space |
| Living area | Stable seating and convenient movement |
| Lighting | Useful task lighting and accessible personal lights |
| GP72 | Stable, dry placement with suitable ventilation and compatible loads |
| Cables | Clear of traffic, heat, water, and pinch points |
| Food and rubbish | Stored according to local requirements |
Check the arrangement again when conditions change. Rain, wind, additional equipment, or a moved chair can affect a previously clear route.
Before sleeping or leaving camp, switch off unnecessary equipment and secure belongings as required. Follow the campground’s food-storage and fire instructions.
Conclusion
A useful campsite layout starts with the site itself.
Identify fixed facilities and boundaries, arrange sleeping and cooking areas appropriately, preserve access, and then add seating, lighting, and power.
The GP72 can form part of an organized supply area for compatible equipment. Giving it a suitable position and planning cable routes helps charging fit naturally into daily camp life.
The result is a campsite where resting, preparing meals, finding belongings, and using equipment require fewer unnecessary movements.
FAQs
What Should You Set Up First at a Campsite?
Inspect the site and confirm its rules before unloading. Establish the tent or RV position, then arrange cooking, living, storage, and charging areas around the available space.
How Should You Separate Sleeping and Cooking Areas?
Follow campground, wildlife, and equipment requirements. The appropriate separation depends on the site and application; a general layout sketch cannot establish a universal distance.
Where Should a Portable Battery Be Placed at Camp?
Choose a stable, dry position with suitable support, ventilation, and access. Keep it away from heat, water, and busy routes, following the product instructions.
Can the GP72 Power Camping Lights and Charge Personal Devices?
Yes, where the equipment’s requirements match the selected outputs. Check cables, protocols, operating modes, and supported multi-device combinations.
Can the GP72 Run a Car Refrigerator?
A compatible refrigerator may be suitable. Confirm voltage range, running and startup requirements, connector, and output limits. Useful runtime depends on actual consumption and conditions.
Can You Connect the GP72 Directly to an RV Electrical System?
Do not assume direct compatibility. An RV system requires an appropriate approved connection and integration method. Independent device charging is a different application.
How Can You Keep Campsite Cables Out of the Way?
Position equipment to avoid crossing main routes, keep cables clear of doors and moving furniture, and inspect for pinch points. Reconsider device placement before adding longer connections.