





Introduction
A solar charger can be useful at a campsite, but the words on the packaging do not always tell you what to expect. A power bank with a small panel on its case works very differently from a folding USB panel or a larger panel connected to a power station.
All three can collect solar energy. The difference is how much they can collect, where that energy is stored, and how easily the equipment fits into your trip.
The best portable solar charger for camping is the setup that matches your devices, your available carrying space and the time you can give it in the sun. Before choosing one, separate two jobs: the panel generates electricity, while the battery stores it for later use.
Start With Your Trip, Your Devices and Your Time in the Sun
Think about what you will actually charge before comparing solar products.
For a short trip with a phone and a rechargeable headlamp, a fully charged power bank may already provide enough energy. Solar becomes more useful when your expected consumption exceeds the electricity you can reasonably carry.
A longer trip does not automatically make solar practical, either. Someone spending several days beneath dense tree cover may have fewer charging opportunities than someone staying at an open campsite for one afternoon.
Ask yourself:
- Which devices need power, and how often?
- Will you carry everything on your back or transport it by car?
- Can the panel stay unfolded in a suitable location?
- How much direct sunlight is the campsite likely to receive?
- What will you do if solar charging contributes very little?
Your answers help narrow the choice to three common setups.
Setup One: A Power Bank With a Built-In Solar Panel
What This All-in-One Design Offers
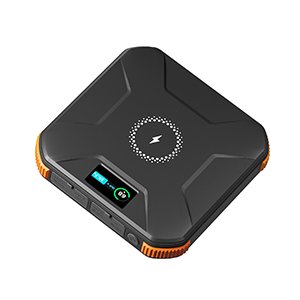
A solar power bank combines a rechargeable battery and a solar panel in one product. You charge your devices from the stored energy, just as you would with a conventional power bank.
Its main attraction is convenience. There is no separate panel to connect, and fewer individual components to pack. Depending on the model, it may also support charging through a USB input before departure.
However, the battery capacity and the solar panel rating describe different capabilities. A large battery does not necessarily come with a panel capable of refilling it quickly.
Why the Small Panel Matters
A panel fitted to the surface of a power bank has limited collecting area. That makes its solar input an important specification to check.
For example, consider a hypothetical power bank with a 40Wh battery and a 2W panel. Even if the panel could deliver its full rated power continuously, replacing 40Wh would require 20 hours before charging losses were considered. Those are hours at that output, not simply 20 hours outdoors.
This is an illustration, not a charging prediction. Actual products and conditions differ, but it shows why battery capacity alone cannot tell you how useful the solar feature will be.
Look for a stated panel wattage and clearly explained charging conditions. Treat claims of quick solar recharging cautiously when the manufacturer provides little supporting information.
When This Setup Fits a Camping Trip
This design can suit campers who want an integrated product and need occasional supplementary charging.
Start with the battery fully charged. Let solar add energy when conditions and the product’s operating limits allow, rather than assuming the small panel will replace everything you use each day.
Because the battery and panel are attached, also follow the manufacturer’s instructions for sun exposure and temperature. A charging indicator does not make prolonged exposure to excessive heat acceptable. Avoid leaving the unit on a hot vehicle dashboard.
Setup Two: A Foldable USB Solar Panel and a Separate Power Bank
How the Two Parts Work Together
This setup separates electricity generation from storage:
Sunlight → Foldable USB Solar Panel → Power Bank → Compatible Devices
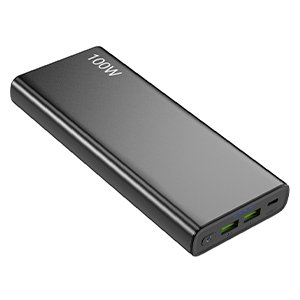
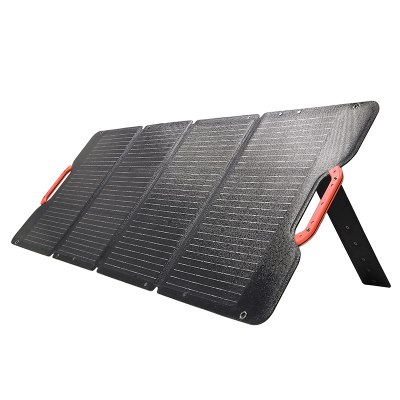
The folding panel can offer more collecting area than a small panel built into a power bank. The separate battery stores the energy so you can charge a phone or headlamp after sunset.
It also gives you more flexibility in placement. The panel needs light, while the battery can sit in a suitable shaded, ventilated position within reach of the approved cable.
Check both products’ instructions before choosing that location. Do not seal an operating battery inside an insulated pouch or expose its connections to damp ground.
What to Check on the USB Connection
A USB socket does not guarantee a particular charging speed.
Compare the panel’s regulated USB output with the power bank’s input requirements. Check the supported voltage, charging protocol and cable rating, especially if you expect USB-C fast charging.
The lowest relevant limit in the connection can restrict charging. A panel rated for higher power will not make a power bank accept more than its supported input.
Sunlight also changes. A passing cloud or moving shadow may reduce output enough to interrupt charging. Whether charging resumes automatically depends on the equipment, so test the combination before relying on it at camp.
If you want the power bank to charge a device while receiving solar input, confirm that it supports simultaneous input and output. Do not assume every power bank does.
When the Extra Panel Is Worth Carrying
A folding USB panel and power bank can work well for trips centered on small electronics, particularly when you have regular opportunities to stop in open sunlight.
For backpacking, weigh the complete system: panel, battery, cables and any supporting accessories. Compare that with the weight of carrying enough stored energy for the same trip.
Attaching a panel to a backpack may collect some energy, but changing direction, body movement and shade make the results variable. A planned stop with the panel properly positioned is easier to evaluate than charging while walking.
Setup Three: A Portable Solar Panel and a Power Station
A Larger System for Vehicle-Based Camping
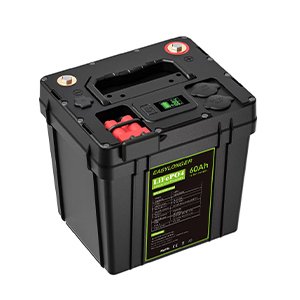
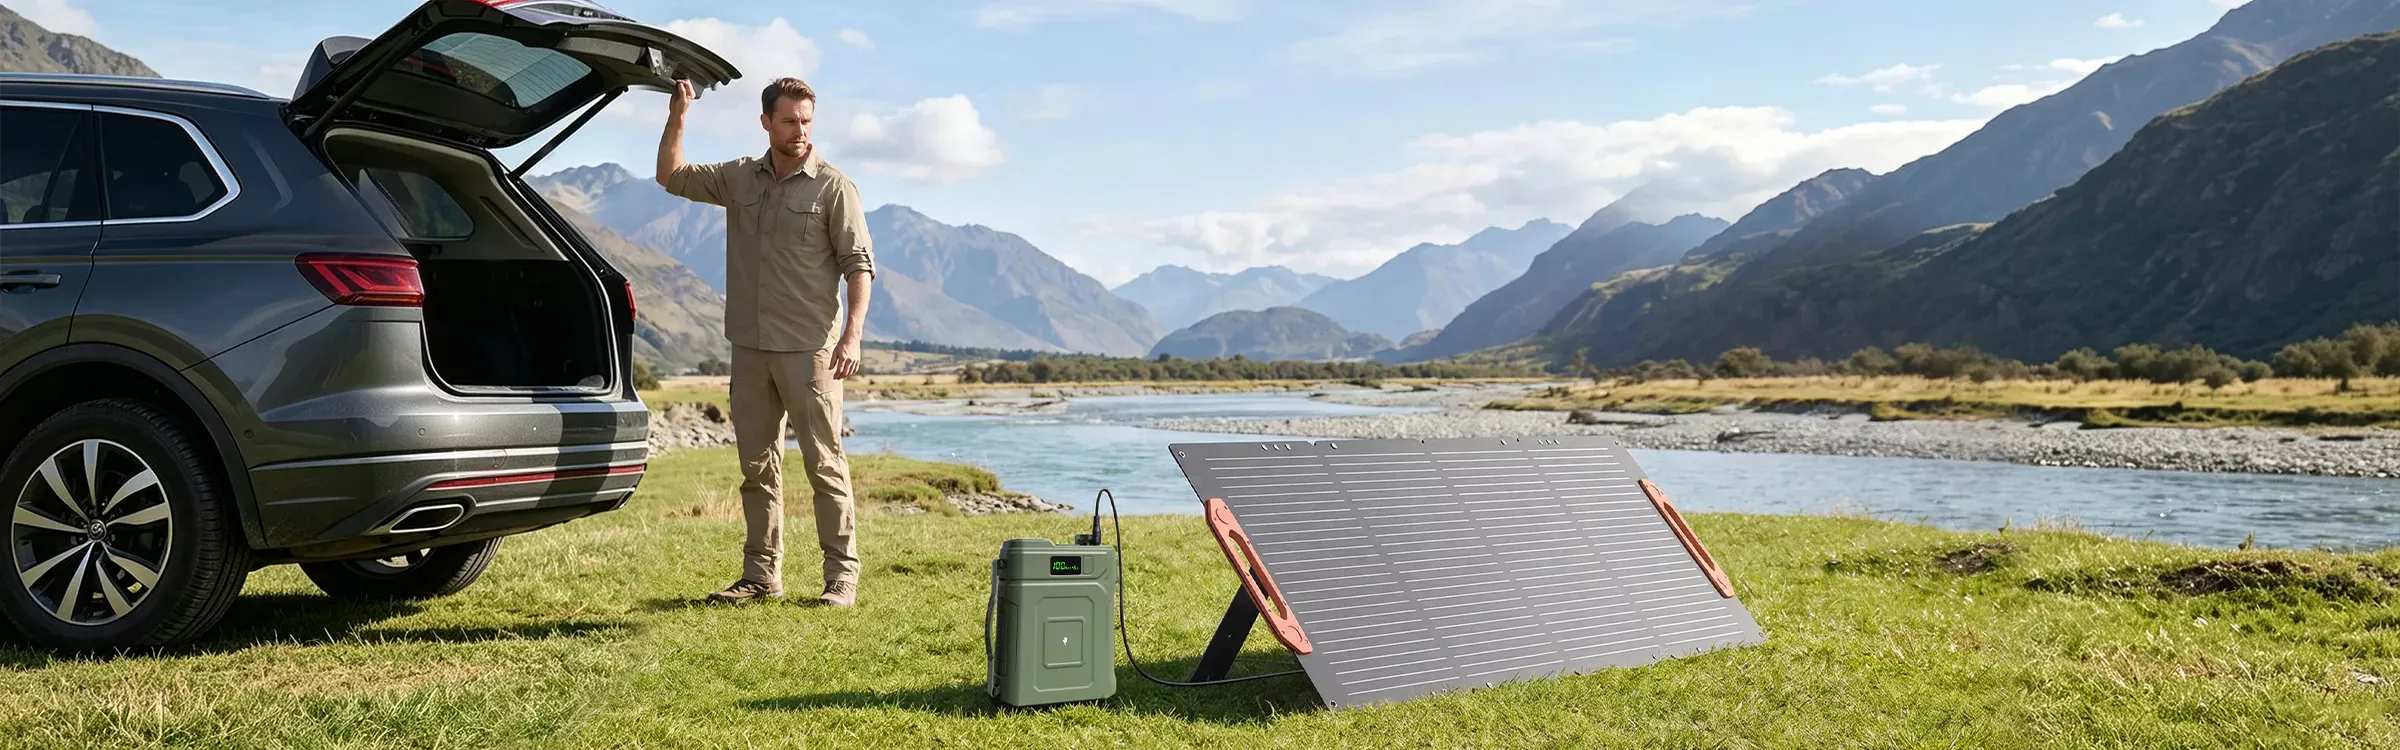
A portable solar panel paired with a power station suits campers who can transport more equipment and need more stored energy.
Possible uses include charging several people’s devices, camera batteries, rechargeable lighting or a compatible electric cooler. The actual applications depend on the power station’s outputs, available energy and the requirements of each device.
Check those requirements individually. Some power stations have household AC outlets; others focus on USB and DC outputs. Battery capacity alone does not establish whether a particular appliance will work.
For equipment with a motor or compressor, consider startup demand as well as normal operation.
Match the Panel to the Solar Input
Choose the panel and power station as a compatible system. Compare the manufacturer’s requirements for:
- Solar input voltage range.
- Panel open-circuit voltage, including any required temperature allowance.
- Permitted current.
- Maximum solar input power.
- Connector type, polarity and approved wiring.
Open-circuit voltage is the panel’s voltage when it is not supplying a load. It matters because compatibility cannot be judged from the panel’s wattage alone.
An adapter may change the connector, but it does not automatically change the voltage or make an unsuitable panel safe to connect. For multiple panels, use only a series or parallel arrangement approved for the equipment.
If the documentation is unclear, send both specification sheets to the supplier before buying cables or connecting the system.
Plan Space for Both the Panel and the Battery
A larger panel needs room to unfold without blocking paths or neighboring pitches. Position it where permitted, use the intended supports and follow the manufacturer’s guidance for wind.
Keep the power station stable, dry and ventilated. Arrange cables so people cannot easily trip over them or pull the equipment over.
Weather protection must be checked separately for the panel, battery, connectors and any adapter. A panel’s water-resistance rating does not automatically apply to everything attached to it.
Compare the Three Setups Before You Pack
| Setup | Main advantage | Suitable starting point | Main limitation to check |
|---|---|---|---|
| Power bank with built-in panel | Fewer separate components | Occasional supplementary charging | Whether the small panel can add a meaningful amount of energy |
| Foldable USB panel + power bank | Separate panel and storage with flexible placement | Small electronics and trips with charging stops | Total carrying weight and USB compatibility |
| Portable panel + power station | Can support a larger storage and charging system | Car camping and camps with several devices | Electrical compatibility, transport space and setup area |
These are starting points rather than fixed categories. Compare the specifications of the actual products, not just their names.
Estimate Daily Energy Needs Before Choosing Panel Size
List What You Will Actually Charge
Start with a simple device list. Include how often you expect to recharge each item and how long any continuously powered equipment will run.
Use watt-hours, or Wh, to compare energy. Milliamp-hour figures can be misleading when they refer to batteries at different voltages.
For a device that draws fairly constant power:
Energy used in Wh = Average power in W × Operating time in hours
A light averaging 5W for four hours uses approximately 20Wh. Charging and conversion losses mean the battery supplying it may need to provide more.
For phones and rechargeable cameras, the internal battery’s Wh rating can help establish a starting estimate, but it does not include every charging loss or the energy consumed while the device remains in use.
For a cycling appliance such as a compressor cooler, use suitable energy-consumption data or measure a representative session. Multiplying its maximum rated power by 24 hours may give a poor estimate of normal daily consumption.
Separate Panel Wattage From Daily Energy
Panel wattage describes power under specified test conditions. Your daily result depends on how output changes over time.
Suppose a panel delivers an average of 30W at its output for three hours. It supplies approximately:
30W × 3 hours = 90Wh
That is a hypothetical calculation, not a promise for a particular panel. Energy ultimately stored in the battery will be lower after charging losses.
The useful question is therefore: How much energy can this setup realistically replace during my available charging window?
Consider:
- Season and location.
- Cloud cover and terrain.
- Shadows from trees, vehicles or equipment.
- Panel angle.
- Temperature.
- The battery’s input limits and charging behavior.
Eight hours of daylight should not be treated as eight hours at the panel’s rated output. More heat does not automatically improve generation, either.
Keep Enough Stored Energy for Poor Weather
Choose battery capacity with the possibility of weak solar charging in mind.
If several cloudy days would leave essential devices without power, revise the plan before departure. You might carry more stored energy, reduce optional consumption or arrange another charging opportunity supported by your equipment.
Prioritize communication, navigation and necessary lighting. Charge devices before they become urgent, and keep track of whether the battery is gaining or losing energy across each day.
Solar can extend a trip’s charging options, but the amount it contributes remains dependent on conditions.
Check the Whole Setup Before Leaving Home
A short trial at home can reveal missing cables and compatibility problems while they are still easy to resolve.
Before packing:
- Fully charge the batteries and devices. Begin with known stored energy.
- Connect the complete system. Use the same panel, cables, adapters and battery you intend to take.
- Confirm that charging is occurring. Check the battery’s display or indicators and observe it long enough to identify obvious interruptions.
- Check recovery after a brief interruption. Move the panel into and out of shade and see whether charging resumes.
- Review operating limits. Read the temperature, moisture and connection instructions for every component.
- Pack the supporting parts. Include required stands, approved cables and protective covers.
- Plan for low solar input. Decide which optional devices you can use less and where another charging opportunity might be available.
At camp, check the setup occasionally as shadows move. Keep the panel clean using the recommended method, and inspect connections before use.
If equipment becomes unusually hot, damaged or wet beyond its protection rating, stop using it and follow the manufacturer’s guidance.
Conclusion
Choosing solar charging for camping starts with knowing what you need to power and how much useful sunlight your trip can offer.
A power bank with a built-in panel keeps the system together, but its solar contribution may be limited. A folding USB panel paired with a power bank offers more flexibility for small electronics. A portable panel and power station can suit a larger vehicle-based camp, provided the components and connected devices are compatible.
Choose the combination you can carry, set up and use reliably—and leave home with enough stored energy to handle disappointing solar conditions.
FAQs
Can a Solar Power Bank Recharge Itself During a Camping Trip?
Yes, if it receives suitable sunlight and operates within its specified limits. The amount recovered depends heavily on panel power and exposure time. A small built-in panel may provide supplementary energy without fully replacing daily use.
Is a Separate Folding Panel Better Than a Built-In Panel?
It can provide more collecting area and flexible placement, but compare actual specifications. It also adds separate equipment and connections. Whether that is worthwhile depends on your energy needs and carrying limits.
Can I Charge a Phone Directly From a USB Solar Panel?
You can if the panel has a suitable regulated USB output and the manufacturer supports direct charging. Changing sunlight may interrupt the session. Keep the phone within its temperature limits and check that charging resumes when light improves.
Do Solar Panels Store Power for Use at Night?
A standalone solar panel does not store electricity. Nighttime charging requires a battery, either built into the product or connected separately.
Will a Camping Solar Charger Work on Cloudy Days?
It may still produce electricity, but output can fall substantially. Under very weak light, the connected equipment may not receive enough power to charge. Avoid planning essential daily charging around an assumed cloudy-day output.
How Do I Know Whether a Solar Panel Matches My Power Station?
Compare the panel specifications with the power station’s solar input requirements. Check voltage, open-circuit voltage, current, power, polarity and connectors. Follow the manufacturer’s instructions for any temperature allowance or multiple-panel connection.
Do I Need Solar Charging for a Two-Night Camping Trip?
Not necessarily. Estimate the energy your devices will need and compare it with the usable energy you can carry. A fully charged battery may cover the trip, while solar may be useful when consumption is higher or other charging opportunities are unavailable.