A tarp is one of the simplest pieces of emergency equipment you can carry outdoors. It is lightweight, compact, and useful for blocking rain, wind, snow, and direct sunlight.A tarp cannot replace a well-designed tent or complete emergency kit. However, if you become lost, injured, stranded beside a vehicle, or unable to reach your destination before dark, it can provide basic protection while you wait for help.An emergency shelter has four main purposes:
Keep you as dry as possible
Reduce exposure to wind
Separate your body from the cold or wet ground
Create a stable location where you can rest and be found
Building a shelter is not automatically the first action in every emergency. If you are in immediate danger from flooding, wildfire, falling rocks, damaged trees, lightning, or downed power lines, move away from that danger first.Once you are in a safer location, check for serious injuries, contact emergency services if possible, share your location, and begin protecting yourself from the weather.
Why Emergency Shelter Comes First When You’re Stuck Outside
When people think about outdoor survival, they often focus first on food. In many short-term emergencies, exposure to wind, rain, cold, or extreme heat is a more urgent problem.A person can become dangerously cold after getting wet, even when the temperature is above freezing. Wind can increase heat loss, while wet clothing provides much less insulation than dry clothing.A basic shelter gives you a place to stop, think, rest, and manage the situation.
Shelter Reduces Exposure
A tarp shelter can reduce several sources of heat loss at the same time.It can:
Keep rain or snow away from clothing and bedding
Reduce direct wind exposure
Protect essential equipment
Create a place to change into dry clothing
Make it easier to rest without continuing to move
Provide a fixed location for signaling rescuers
Start building while you still have energy and daylight. Do not wait until you are exhausted, soaked, or unable to use your hands properly.
Cold Risk Is Not Just a Winter Problem
Hypothermia occurs when the body loses heat faster than it can produce heat. It is commonly associated with freezing weather, but rain, sweat, wind, and immersion in cold water can also create a serious risk in milder conditions.Warning signs may include:
Continuous shivering
Exhaustion
Clumsy hands
Difficulty walking
Slurred speech
Poor judgment
Confusion
Memory problems
Unusual drowsiness
A person whose condition is worsening may stop shivering. This is not a sign that the person is becoming warmer.Move the person into shelter, remove wet clothing when dry replacements are available, insulate them from the ground, and wrap them in dry layers. Seek emergency medical help as soon as possible if the person is confused, unresponsive, unable to walk normally, or showing other serious symptoms.Do not give alcohol to someone who is cold. Do not place a person with suspected severe hypothermia directly against an intense heat source.
Stay Put When the Location Is Safe
If you are lost, constantly changing position can make it harder for rescuers to find you.Staying near one safe location is often sensible when:
You have already shared your position.
Someone knows your route.
Search teams are likely to look in the area.
The weather is getting worse.
Darkness is approaching.
You are injured or exhausted.
Continuing may make you more lost.
You have water and basic shelter materials.
However, staying put is appropriate only when the location itself is reasonably safe.Move if remaining there creates a more immediate danger, such as:
Rising floodwater
Wildfire or heavy smoke
A dry riverbed during possible rain
An exposed ridge during a thunderstorm
Falling rocks
An unstable slope
Dead trees or hanging branches
Avalanche danger
Downed power lines
An official evacuation order
A useful rule is:Stay where rescuers can find you when the location is safe. Move when remaining there creates a greater danger.
How to Build a Tarp Shelter Step by Step
Before selecting a shelter design, look at the weather, terrain, available supports, number of people, and condition of your equipment.
Check Your Equipment
A basic tarp shelter kit may include:
A waterproof tarp
Cord or utility rope
Tent stakes
Trekking poles
Work gloves
A sleeping pad
An emergency blanket
A headlamp
A small cutting tool
Bright marking tape
If you do not have tent stakes, you may be able to use sturdy sticks, heavy rocks, or bags filled with soil. Avoid sharp objects that could puncture the tarp.Do not cut live trees unless it is legally permitted and truly necessary. Never damage trees or vegetation in a protected area merely to improve comfort.
Pick a Safe Spot
Look for a location that is:
Slightly elevated
Relatively level
Protected from the strongest wind
Well drained
Large enough for the shelter and guy lines
Visible from a likely search route
Away from obvious hazards
Avoid building in:
Dry riverbeds
Drainage channels
The lowest part of a valley
Areas with visible flood debris
Tidal zones
The bottom of a cliff
Areas below loose rocks
Avalanche paths
Animal trails
Areas with many insect nests
Locations directly beneath dead trees
Locations beneath large hanging branches
The highest point in an exposed area during a storm
A comfortable-looking place is not always a safe place. Look up, downhill, and around you before choosing.
Check the Wind and Rain Direction
Determine where the weather is coming from before setting the tarp.In most cases:
Put the lower or more closed side toward the wind.
Keep the entrance on the sheltered side.
Angle the roof so rain can run off.
Avoid low spots in the tarp where water can collect.
Keep enough ventilation to reduce condensation.
Wind direction can change, so avoid designs that provide protection from only one side when severe weather is expected.
Three Tarp Shelters Worth Learning
Emergency shelters should be simple enough to build when you are tired, cold, or working in poor light. Three useful designs are the A-frame, lean-to, and low wedge.
Shelter type
Best use
Main advantage
Main limitation
A-frame
Rain and general overnight protection
Covers two sides
Ends remain partly open
Lean-to
Fast daytime shelter and one-direction wind
Quick and spacious
Limited protection if wind changes
Low wedge
Strong wind and cold conditions
Low profile and better wind resistance
Less space and ventilation
A-Frame Tarp Shelter
An A-frame is one of the most familiar tarp shelters. The tarp hangs over a center ridge line, with both sides secured near the ground.
How to Build It
Find two secure supports, such as sturdy trees.
Tie a ridge line between them.
Position the line around waist height or lower, depending on weather and tarp size.
Place the center of the tarp over the ridge line.
Pull both sides outward and downward.
Secure the corners and side points with stakes or anchors.
Adjust the tension so water runs off both sides.
Add ground insulation inside.
If no trees are available, use trekking poles or sturdy supports at each end. Make sure the supports cannot fall onto the sleeping area.
Advantages
An A-frame:
Provides rain protection on two sides
Is easy to understand
Works for one or two people
Can be adjusted for more space or more wind protection
Provides a clear sleeping area
Limitations
The ends remain open unless additional material is used. Wind-driven rain may enter through them.For colder or windier weather, build the shelter lower and use spare gear to reduce airflow at the ends without closing all ventilation.
Lean-To Tarp Shelter
A lean-to creates one sloping wall and a large open front.
How to Build It
Stretch a support line between two secure points.
Attach one edge of the tarp to the line.
Pull the opposite edge down toward the ground.
Secure the lower edge with stakes or heavy anchors.
Face the solid wall toward the main wind.
Keep the open side away from wind-driven rain.
Check that rain can drain away from the sleeping area.
Advantages
A lean-to is:
Fast to build
Easy to enter
Spacious for sitting and working
Good for observing the surrounding area
Useful as a short-term rest or signaling shelter
Limitations
It offers limited protection if the wind changes direction. The open side also allows more heat to escape than an A-frame or low wedge.A lean-to is better for stable weather or one-direction wind than for a severe storm.
Low Wedge Shelter
A low wedge is built with a raised entrance and a narrow, low rear section. Its small profile makes it useful in stronger wind.
How to Build It
Choose a secure point for the raised entrance.
Attach one end of the tarp at a low height.
Stretch the opposite end down and secure it close to the ground.
Stake the side edges firmly.
Keep the low end facing the strongest wind.
Leave enough entrance space for safe movement and airflow.
Place thick ground insulation inside.
Advantages
A low wedge:
Has a low wind profile
Retains body heat better than an open shelter
Uses a relatively small amount of space
Works well as an emergency single-person shelter
Limitations
The interior is small and can collect condensation. It is also harder to enter and exit.Never use a stove, charcoal, fuel heater, or open flame inside a low tarp shelter.
Knots That Hold a Tarp
You do not need to learn dozens of knots. Three useful knots can handle most basic tarp setups.Practice them before an emergency. Cold hands, darkness, rain, and stress make unfamiliar knots much harder to tie.
Bowline
A bowline creates a fixed loop at the end of a rope. It can be used to connect the rope to a tree, pole, or secure attachment point.Its main advantage is that it does not continue tightening around the support while under load.
Taut-Line Hitch
A taut-line hitch can be adjusted after it is tied. It is useful for guy lines running from the tarp to a stake.As the tarp stretches, becomes wet, or loosens in the wind, the hitch allows you to adjust the tension.
Trucker’s Hitch
A trucker’s hitch helps tighten a ridge line. It can create substantial tension, so avoid pulling so hard that you damage the tarp, tree, pole, or attachment point.If you are not comfortable using it, choose a simpler method you have practiced.
Protect the Tarp and Other People
Use the tarp’s reinforced loops or grommets when possible. Avoid pulling thin cord directly against unreinforced fabric.If a grommet is damaged, one temporary method is to wrap the tarp around a smooth small object and tie behind it, creating a new attachment point. Avoid sharp rocks or objects that can cut the fabric.Guy lines are easy to trip over. Mark them with bright cloth, reflective cord, or visible tape, especially near the entrance.
Insulate From the Ground
A waterproof roof solves only part of the exposure problem. The ground can pull heat away from the body throughout the night.Do not sleep directly on cold soil, stone, snow, concrete, or wet vegetation.
What Can Be Used for Insulation?
Suitable materials may include:
A sleeping pad
A foam mat
A folded blanket
A backpack
Spare dry clothing
Cardboard
Dry leaves
Dry grass
Pine needles
Several layers of dry natural material
Use only dry natural material, and check for insects, thorns, animal nests, and local collection restrictions.An emergency blanket is useful for reducing heat loss, but it is too thin to provide much cushioning or insulation from cold ground by itself. Combine it with a pad, clothing, cardboard, or dry natural material.
Keep Water Out of the Sleeping Area
Before settling in:
Check the direction water would flow during rain.
Do not build in a depression.
Keep the tarp edges positioned to shed water away.
Store dry gear in waterproof bags.
Keep wet footwear away from bedding.
Separate wet clothing from dry layers.
Avoid touching the sleeping bag directly against a wet tarp wall.
Do not dig drainage trenches where doing so is prohibited or would damage the area. Choosing a naturally well-drained location is better.
When Your Home Can Stay the Safer Shelter After a Storm
Emergency shelter decisions also apply after hurricanes, severe storms, ice storms, tornadoes, and extended power outages.If a home remains structurally safe, it often provides better protection than a temporary outdoor shelter. However, staying inside is appropriate only after checking for serious hazards.
Shelter in Place or Leave?
Staying at home may be reasonable when:
There is no evacuation order.
The building appears structurally sound.
There is no fire or smoke.
You do not smell gas.
Floodwater is not entering or rising around the home.
No downed power line is touching the building.
Indoor temperatures remain manageable.
You have drinking water and necessary medication.
Essential medical equipment can continue operating.
You have a way to receive emergency information.
Leave and move to a safer location when:
Authorities issue an evacuation order.
The structure is damaged or unstable.
You smell gas or suspect a leak.
Floodwater is rising.
There is a fire or carbon monoxide danger.
Downed power lines block safe access.
Indoor temperature becomes unsafe.
A family member cannot operate essential medical equipment.
Remaining in the building creates a greater risk than leaving.
Do not delay an official evacuation to protect property or finish charging devices.
Safety Lines Worth Remembering
Downed Line: Stay Away
Treat every downed electrical line as energized. Do not touch the line, nearby fences, branches, water, vehicles, or other objects that may be in contact with it.Keep other people away and notify the utility or emergency services from a safe location.
Smell Gas: Get Out
If you smell gas or suspect a leak, leave the building. Do not operate switches, light flames, start equipment, or create sparks.Contact emergency services or the gas provider from a safe location.
Floodwater: Do Not Enter
Do not walk or drive into floodwater when you cannot judge its depth, current, contamination, or electrical hazards.Floodwater can conceal damaged roads, sharp debris, open drains, and energized equipment.
Generator: Outdoors Only
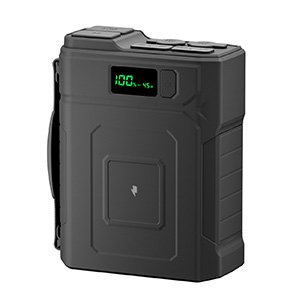
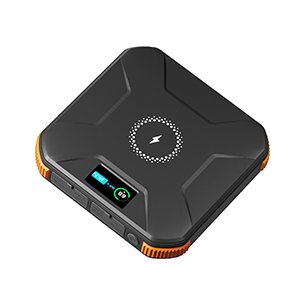
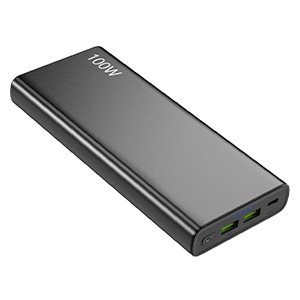
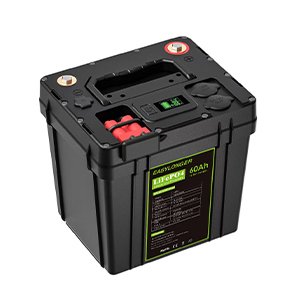
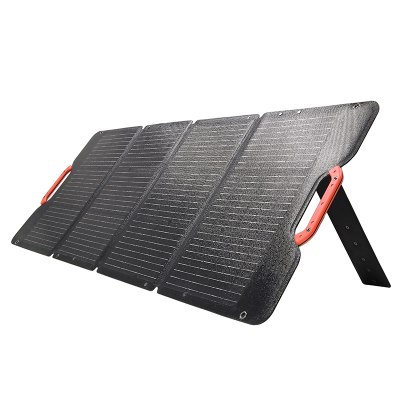
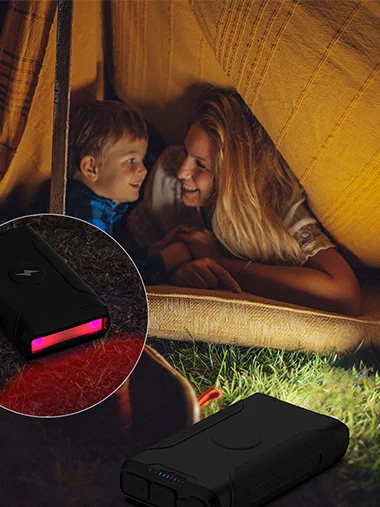
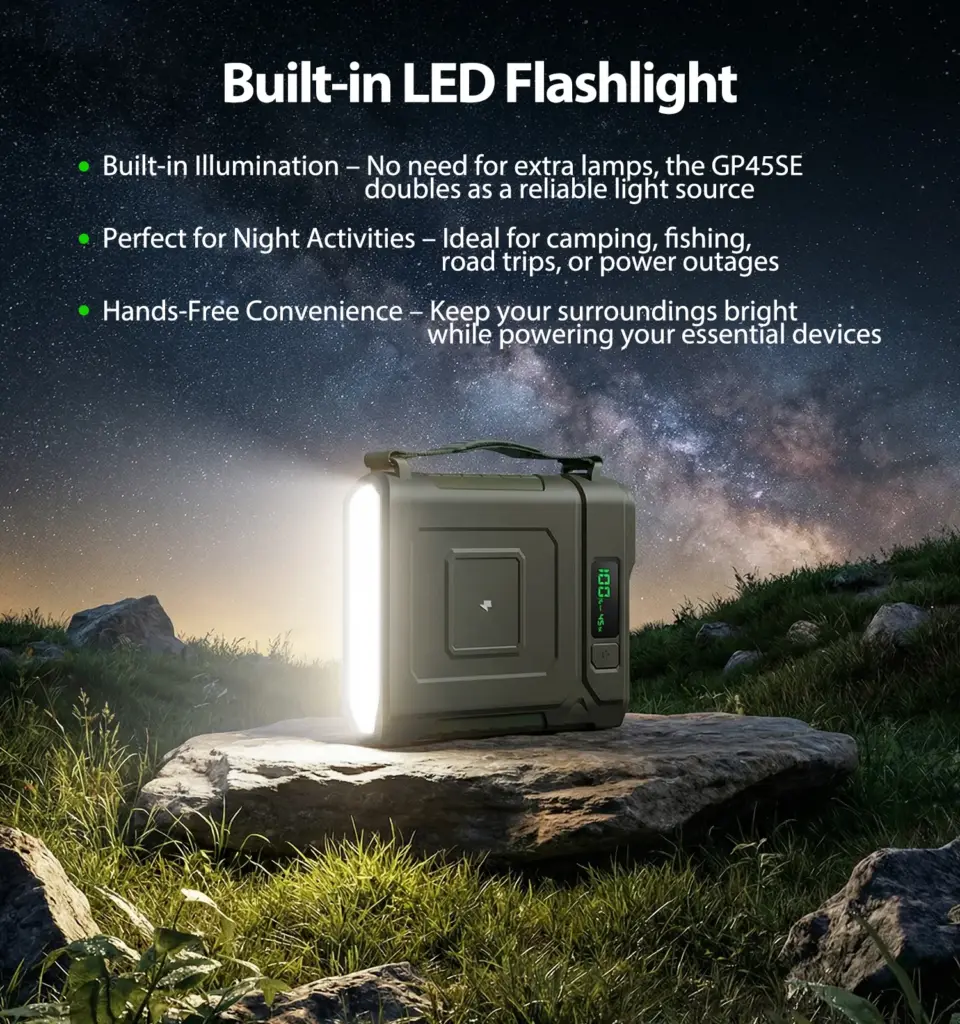
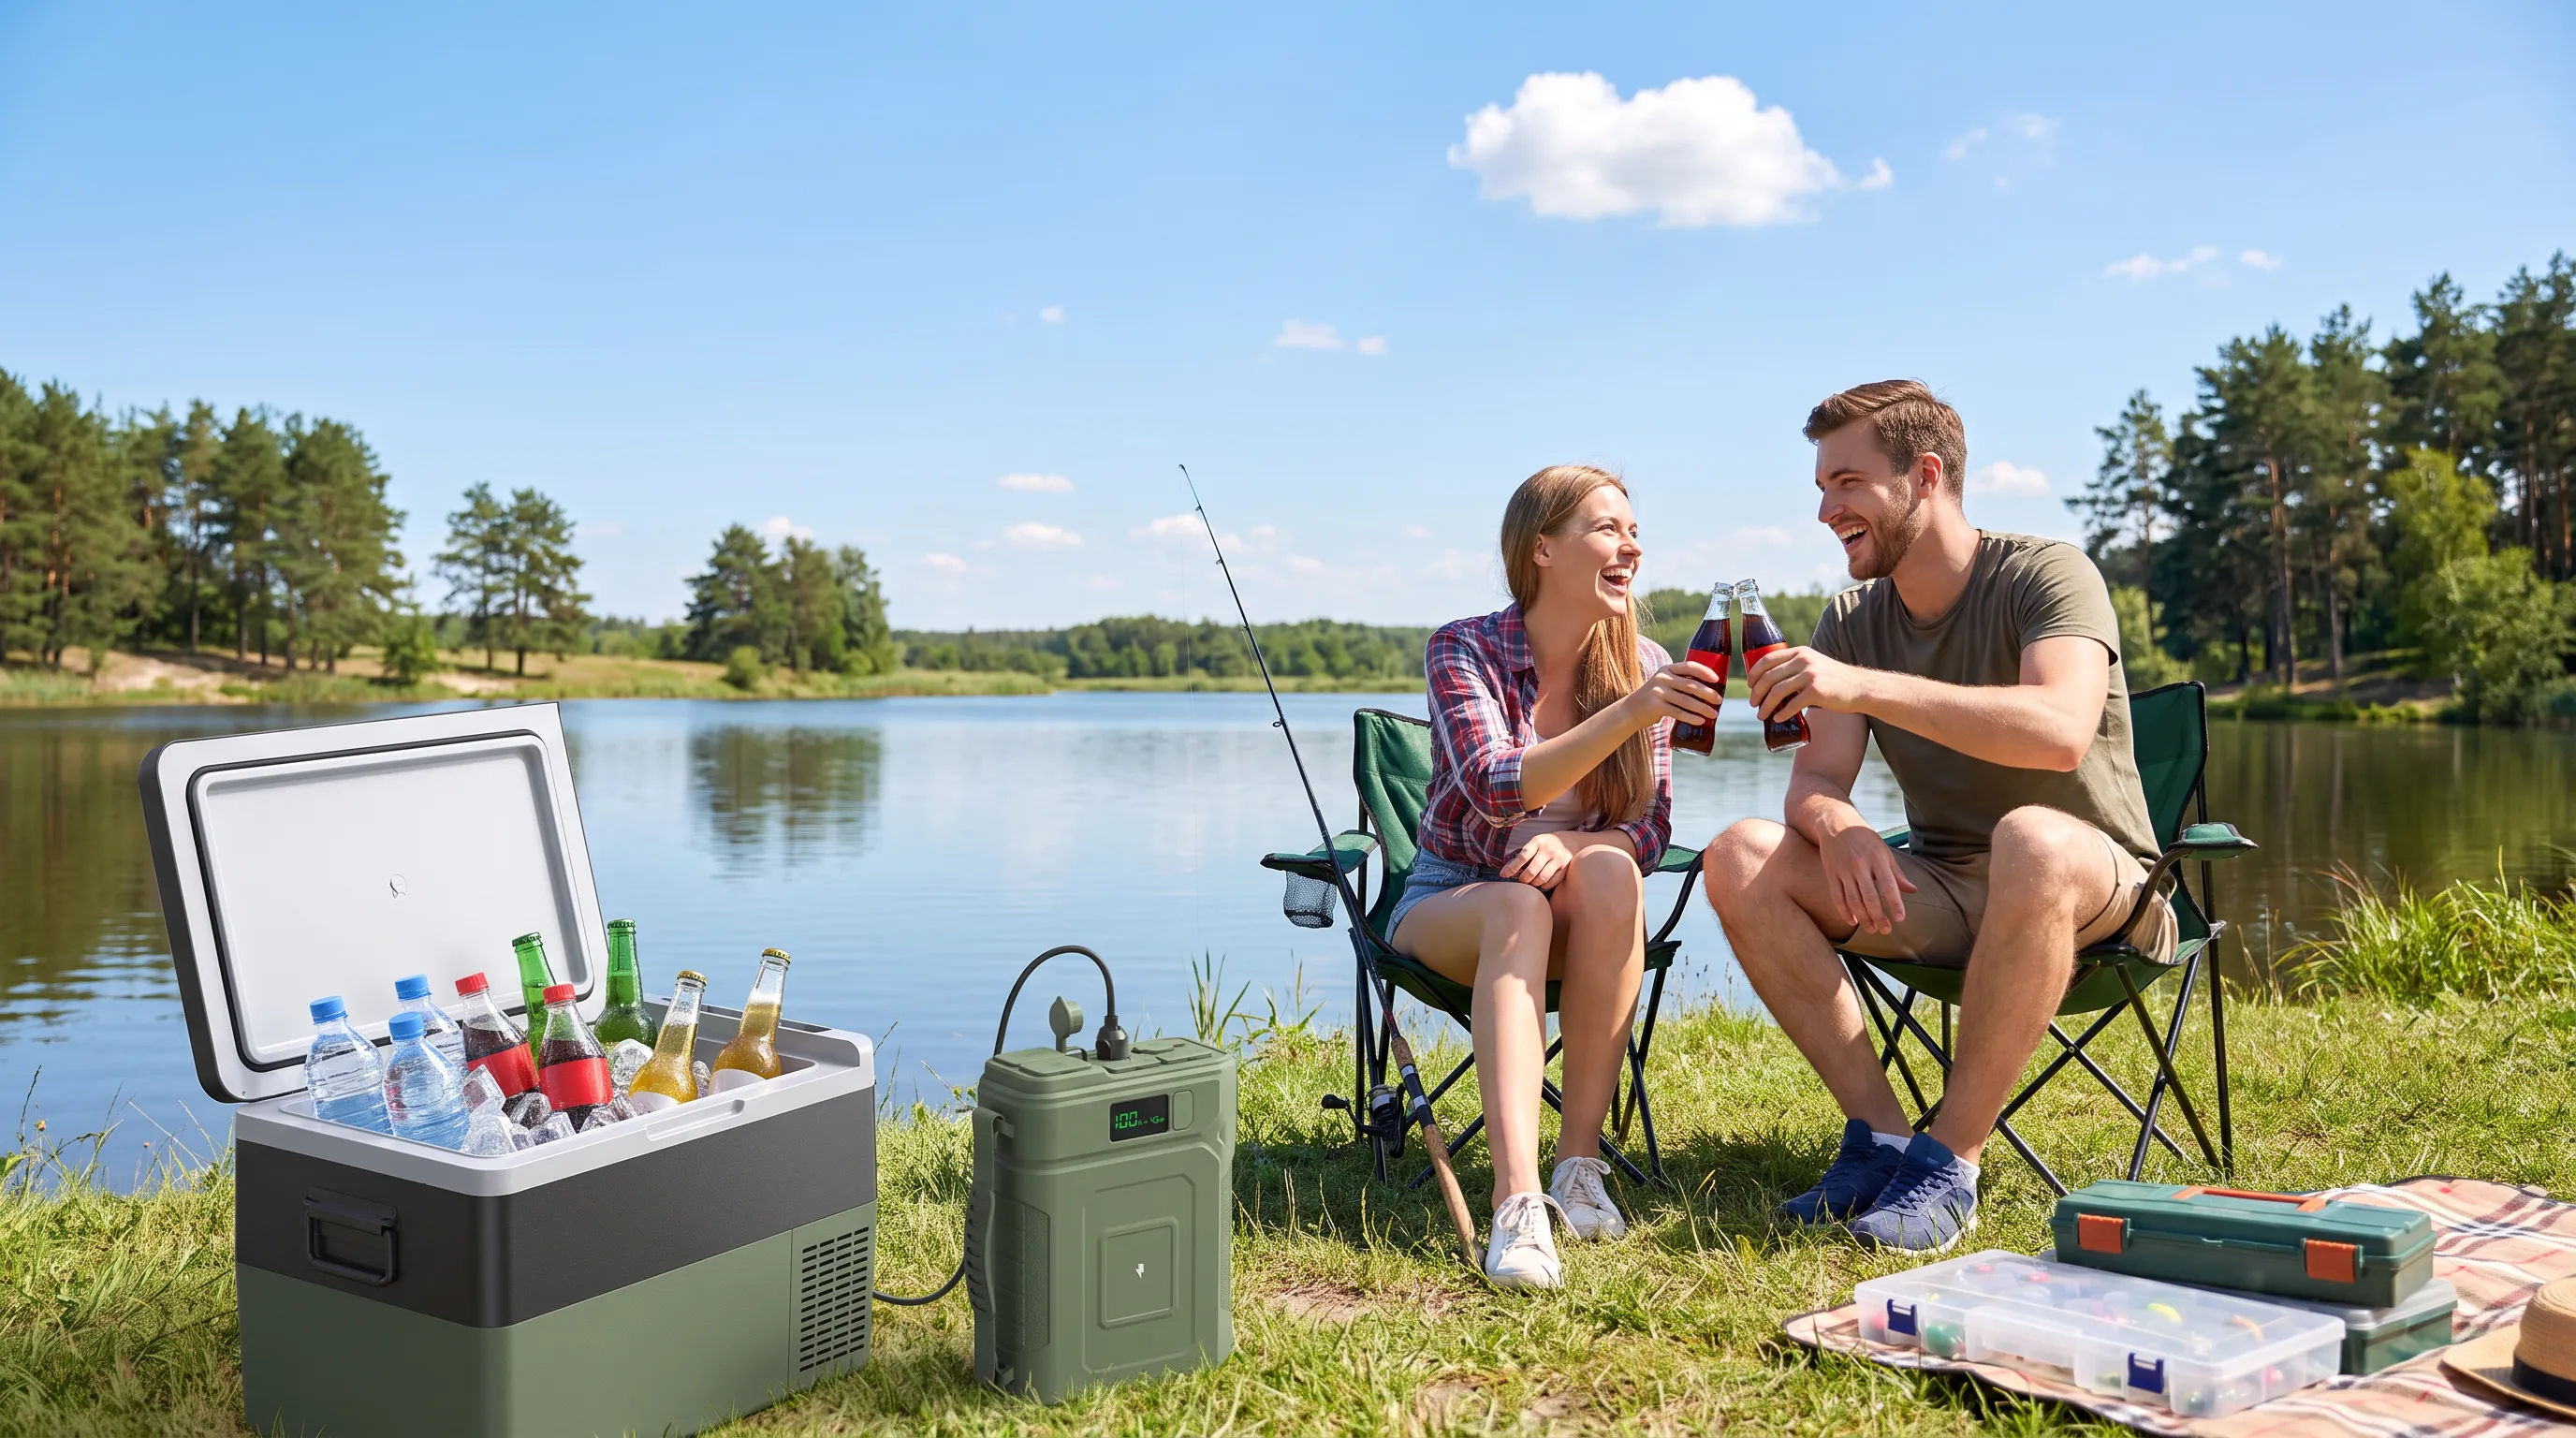
Fuel-powered generators produce carbon monoxide. Use them outdoors, well away from windows, doors, garages, vents, and air intakes.Never operate a fuel generator inside a home, garage, basement, tent, or other enclosed shelter.For phones, LED lights, radios, cameras, routers, and other compatible low-power devices, consider using a portable lithium battery pack instead. Because it does not burn fuel while operating, it produces no exhaust or carbon monoxide at the point of use. It is also quieter and easier to use inside a safe, dry, and ventilated area.A Merpower portable battery pack can support essential DC devices during a power outage or outdoor emergency, provided that the device voltage, current, connector, and power requirements match the battery output.Portable battery power still has limits. It may not be able to operate space heaters, cooking appliances, large refrigerators, or other high-power equipment for long periods. Check the battery capacity and maximum output before connecting any device, and reserve enough energy for communication and emergency lighting.Keep the battery dry, leave space around it for ventilation, and do not cover it with clothing or bedding. Stop using it if the enclosure is damaged, swollen, unusually hot, or exposed to water.
Evacuation Order: Leave
Follow official instructions and use recommended evacuation routes. Conditions can worsen faster than expected.
Create a Safer Room Inside the Home
If the building is safe but heating or electricity is unavailable, choose one suitable room for the household.A smaller room may be easier to keep comfortable.Choose a room that is:
Dry
Away from broken windows
Away from damaged walls
Free of combustion hazards
Large enough for the household
Accessible to essential supplies
Bring together:
Sleeping bags
Blankets
Warm clothing
Water
Food
Medication
Flashlights
Phones
A radio
Batteries
First-aid supplies
Close the doors to rooms that are not being used. Reduce drafts where practical, but maintain necessary ventilation.Do not use a charcoal grill, camping stove, gasoline heater, or other unvented combustion device indoors.
What Battery Power Can Do
Portable battery power can support essential devices during an outdoor emergency or household outage. Its role should be clearly prioritized.
Power Communication and Lighting First
A practical order of priority is:
Mobile phone
Emergency radio
Headlamp or LED light
Satellite communicator or two-way radio
Necessary compatible medical equipment
Navigation equipment
Other low-power devices
Entertainment devices should not consume energy needed for communication, light, or medical support.
Battery Power Has Limits
A portable battery cannot:
Make a damaged building safe
Replace an evacuation plan
Remove flood or fire hazards
Operate every household appliance
Guarantee continuous heating
Replace a medically approved backup system for life-support equipment
Traditional electric space heaters often consume a large amount of power. A small battery may run one only briefly or may be unable to support it at all.In many emergencies, it is more practical to conserve body heat with dry clothing, sleeping bags, blankets, ground insulation, and a smaller occupied space.
Check Compatibility
Before connecting a device, confirm:
Required voltage
Required current
Connector type
Normal power
Startup power
Battery output limit
Expected operating time
A connector that fits does not always guarantee electrical compatibility.
Estimate Runtime
A simple estimate is:Estimated runtime = Usable battery energy in Wh ÷ Device power in WFor example, if a battery provides approximately 300Wh of usable energy and a device averages 30W:300Wh ÷ 30W = approximately 10 hoursActual runtime may be shorter because of:
Power-conversion losses
Cold temperatures
Battery age
Startup loads
Other connected devices
Standby consumption
Test important equipment before an emergency.
Keep the Battery Safe
Keep it dry.
Keep it off wet ground.
Do not cover it with clothing or bedding.
Keep it away from flames and heaters.
Do not use it if it is swollen, cracked, leaking, or water-damaged.
Leave ventilation around it.
Protect connectors from dirt and moisture.
Reserve enough capacity for communication.
Staying Warm, Dry and Easy to Find
A strong emergency plan combines shelter, clothing, insulation, communication, and signaling.
Stay Dry Before Trying to Get Warm
Put on rain protection before your clothing becomes soaked.Manage your activity level to avoid excessive sweating. Sweating can leave inner layers wet, creating a cooling problem when you stop moving.If possible:
Replace wet clothes with dry ones.
Protect the head and neck.
Use several loose layers.
Add a wind-resistant outer layer.
Keep one dry clothing set protected in a waterproof bag.
Reduce Wind Exposure
Keep the shelter low when the wind is strong. Point the most closed side toward the wind and secure every corner.Use natural windbreaks only after checking them for falling branches, rocks, or other hazards.Avoid pressing a sleeping bag against a wet tarp wall. Condensation or rainwater can transfer to the insulation.
Make Yourself Easier to Find
If your location is safe:
Remain near the location you reported.
Use a brightly colored tarp.
Place visible markers in an open area.
Use a whistle instead of shouting continuously.
Use a light signal after dark.
Conserve battery between communication attempts.
Keep electronic devices warm and dry.
Send location coordinates when possible.
Three repeated whistle blasts or light signals are widely recognized as a distress pattern, but any clear repeated signal is better than no signal.
Manage Water, Food, and Energy
Drink water regularly. Dehydration can contribute to fatigue and poor decisions.If food is available, eat small amounts of energy-rich food. Do not consume alcohol for warmth.Limit unnecessary movement. Complete repairs, signaling work, and water collection during daylight, then return to the shelter before dark.
Common Emergency Shelter Mistakes
Avoid these common errors:
Building in a drainage channel or low area
Sleeping below dead trees or hanging branches
Waiting until dark to build
Facing the opening into the wind
Failing to insulate from the ground
Pulling the tarp so tightly that its attachment points tear
Leaving guy lines unmarked
Using a stove, heater, charcoal, or open flame inside a tarp shelter
Blocking all ventilation
Covering a portable battery with blankets
Leaving a reported safe location without a clear reason
Ignoring early signs of hypothermia
Approaching downed electrical lines
Entering floodwater
Running a fuel generator in a garage, tent, or home
Conclusion
An emergency tarp shelter does not need to be complicated. It needs to be safe, stable, dry, and appropriate for the conditions.Choose the location before choosing the shelter design. Avoid flood paths, dead trees, loose rocks, exposed ridges, and other hazards. Build while you still have daylight and energy.An A-frame provides balanced rain protection. A lean-to is fast and spacious when the weather comes mainly from one direction. A low wedge provides a smaller, lower profile for stronger wind and colder conditions.The roof is only part of the shelter. Insulate yourself from the ground, keep dry equipment separate from wet items, and manage ventilation.If you become lost, staying near a safe reported location often makes it easier for rescuers to find you. Move when the location becomes dangerous or authorities instruct you to evacuate.After a storm, a structurally safe home may provide better protection than an outdoor shelter. Check for gas, floodwater, fire, structural damage, downed lines, and unsafe indoor temperatures before deciding to remain.Use battery power for communication, lighting, navigation, and essential compatible equipment. Understand its capacity and output limits, and conserve enough energy for help.The best time to learn these skills is before an emergency. Practice setting up the tarp, tying the knots, checking your equipment, and estimating battery runtime while conditions are still safe.
Frequently Asked Questions
What Is the Easiest Tarp Shelter to Build?
A lean-to is usually the fastest. An A-frame provides more balanced rain protection and may be better for an overnight stay.
Which Way Should a Tarp Shelter Face?
Place the lowest or most closed side toward the main wind. Keep the entrance on the sheltered side when possible.
Can I Build a Tarp Shelter Without Trees?
Yes. Trekking poles, sturdy supports, rocks, stakes, or a vehicle can sometimes be used. Make sure nothing can collapse onto the sleeping area, and do not attach a tarp where it creates a risk around a vehicle.
How High Should an Emergency Tarp Shelter Be?
Build only as high as necessary. A lower shelter generally handles wind better and retains heat more effectively, while a higher shelter provides more space and ventilation.
Should I Stay Where I Am if I Get Lost?
Stay near your known or reported location when it is safe. Move if you face a more immediate threat such as fire, flooding, falling trees, or another serious hazard.
Can Hypothermia Happen Above Freezing?
Yes. Rain, wet clothing, wind, cold water, exhaustion, and prolonged exposure can cause dangerous cooling even when the air temperature is above freezing.
What Can I Use to Insulate Myself From the Ground?
Use a sleeping pad, foam mat, folded clothing, backpack, cardboard, dry leaves, dry grass, or other dry insulating material. Check natural material for insects and thorns.
Is It Safe to Use a Stove Inside a Tarp Shelter?
No. Fuel stoves and heaters can cause fire, burns, and carbon monoxide poisoning. Keep combustion equipment outside and follow the manufacturer’s clearance instructions.
Should I Stay Home or Evacuate After a Storm?
Stay only if the building is safe, no evacuation order is active, and there is no fire, gas, flood, electrical, or structural danger. Leave when authorities instruct you to evacuate or when remaining creates a greater risk.
Can I Use a Fuel Generator Inside a Garage?
No. A garage is still an enclosed or partly enclosed space. Operate fuel generators outdoors and well away from doors, windows, vents, and air intakes.
What Should I Power First During an Outage?
Prioritize phones, emergency radios, lights, communication devices, and necessary compatible medical equipment.
How Do I Estimate Battery Runtime?
Divide the battery’s usable watt-hours by the device’s average watts. Allow for conversion losses, temperature, battery condition, and other connected devices.
How Can I Make My Shelter Easier for Rescuers to Find?
Use a brightly colored tarp, remain near a reported safe location, place visible markers in an open area, use repeated whistle or light signals, and send your coordinates when possible.